
As much as I loved the D700, and I really did love it, the excellent high ISO of the d750 has opened up some new doors. One of these doors, a completely new one to me, is night sky astrophotography. Specifically the Milky Way. Although only subtly visible to the naked eye, a long exposure brings out all of the rich texture and hues that can span from horizon to horizon. Southern Ontario for the most part isn’t particularly dark but even a couple of hours north of the 401 corridor the light pollution dies down enough to get a decent shot.
The trick to getting a good capture of the milky way is to keep the signal to noise ratio high, with a wide aperture, long exposure and clean high ISO performance. As with all photos of objects in the night sky, the exposure must be short enough to keep them from being blurred by that the rotation of the earth. Fortunately there is a simple rule of thumb. Divide the number 500 by the lens’ focal length to get the maximum shutter speed to avoid blur. For example, when using an 18mm lens, the longest shutter speed is 28 seconds. This formula applies to full frame cameras. With an APS sensor, divide the shutter speed further by 1.5.
A steady tripod is also critical to getting sharp photos. For focusing, set the camera to live view, manual focus and zoom the display to a bright star or planet. It’s best to shoot with a cable release or at least in self timer mode to minimize camera shake.
Don’t expect an epic photo straight out of the camera, this type of image takes some extreme post processing. Here’s an example before any editing, followed by the finished product. The shot was taken with the D750 and AF-S 18-35mm f/3.5-4.5 G (18mm, f/3.5, 25 seconds, ISO 6400).

f/3.5, 25 seconds ISO 6400 (out of camera)
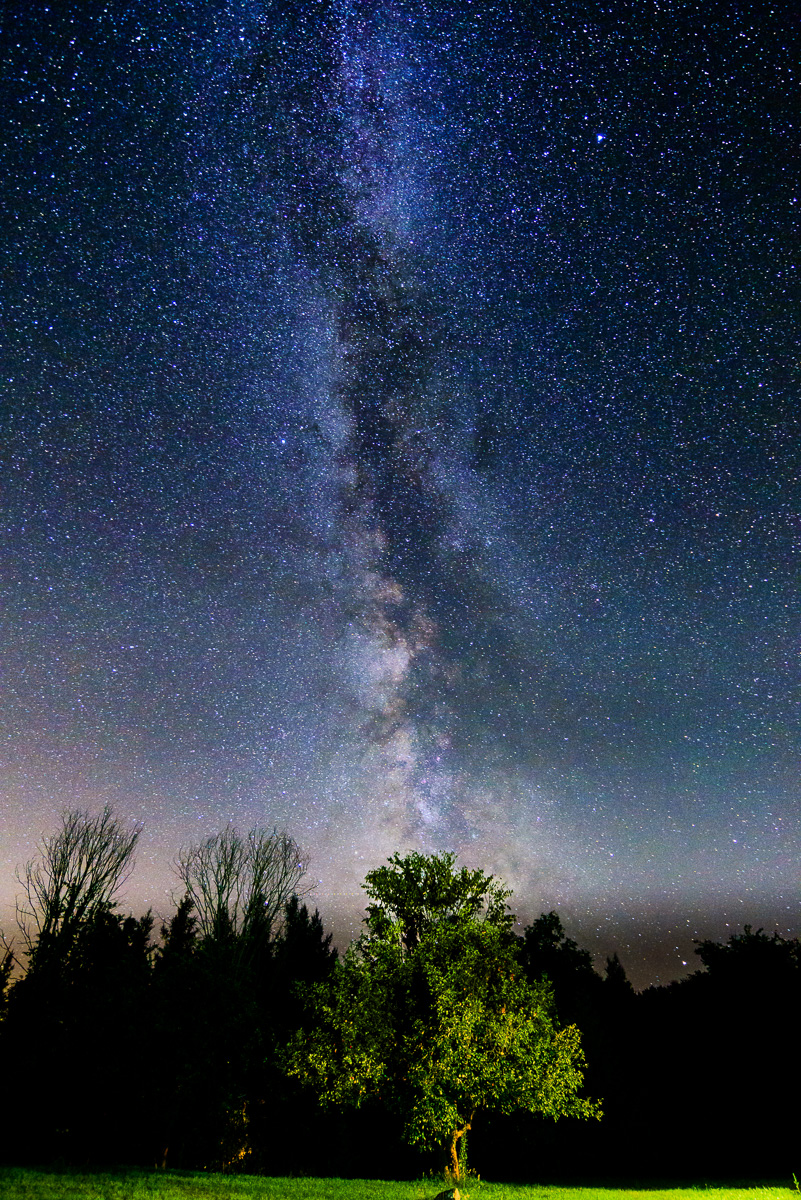
f/3.5, 25 seconds ISO 6400 (after extensive edits)
There will always be a colour caste in the original image due to light pollution, high ISO noise and white balance settting. After adjusting colour, the image will need some heavy contrast enhancement and careful use of shadow/highlight sliders (if using lightroom) and a good dose of saturation. Careful noise reduction and sharpening is key too.
Now, of course I’m finding some limitations with my equipment (surprise surprise). My brightest wide lens is f/3.5 at 18mm. Nikon makes an outstanding 20mm f/1.8 that’s pretty tempting but I don’t think I can justify getting a new lens just for taking photos of stars! Anyway, I’ve been getting great results with what I already have in my bag. Here are another few examples, all with the D750 and 18-35mm at 18mm. The first is a panorama of 6 shots.

