Mitzy with her Foxes in the Sumac

Here’s a shot from a couple months ago during a visit to my Dad’s in Inglewood, ON. I thought it would be a good image to try out some newly discovered retouch techniques. I’m sure at some point I’ll write about them.

Taken with the D300s and Sigma 50mm f/1.4 at f/2.5.

Caledon Mist

Caledon Mist by owencherry
Caledon Mist, a photo by owencherry on Flickr.

While driving home from my Dad’s on a dreary, foggy day the sun poked through the clouds just a bit when we neared Belfountain, ON. Mitzy and I pulled off to grab a shot at my favourite lookout. On the way down the trail I stopped to take this photo, both on the Bronica and on the D300s. Since I only had the 35mm f/1.8 I had to stitch multiple shots (at least 20) into a panorama.

I’m not totally happy with how the perspective turned out, but I really like the magical feeling of the treetops and the contrast down below.

Via Flickr:
Multishot panorama near Devil’s Pulpit.

Rachel and Jeremy’s Victoria Park Pavilion Wedding

In early October I was fortunate to photograph the wedding of my good friend (and former roommate), Rachel, at the Pavillion in Kitchener’s Victoria Park. Rachel and Jeremy’s fun-loving personalities brought many unique elements to their wedding including adorable decorations, a crochet wedding cake and a live photo booth projected on the stage.

RachelandJeremy-331The ceremony began with a workout routine for the audience and included a science experiment (with safety glasses, of course), vows read by the audience and a fantastic victory lap at the end. Natural light on the stage was low, so I lit the ceremony with two Alien Bees AB800 lights bounced onto opposite sides of the vast ceiling. This setup provided enough light for the processional/recessional as well, making my job a lot easier!RachelandJeremy-166 RachelandJeremy-219 RachelandJeremy-244 RachelandJeremy-249I took the massive wedding party outside for a photo in front of the pavilion. Not having a ladder, I held the D300s with AF-S 17-55mm f/2.8 above my head and took a series of images at 17mm f/5.6 adjust the framing slightly for each shot. I learned this trick watching a newspaper photographer cover a large crowd scene with his D2h. He held the camera high up and shot at max frame rate while moving panning the camera up/down/left/right.RachelandJeremy-310Alone with the bride and groom (along with videographers and Mike Portt, who was assisting) I captured these images. The first is a panorama of many shots with the D7000 and Sigma 50/1.4 at f/1.4.RachelandJeremy-329The next are with the Sigma and a rented AF-S 24mm f/1.4, respectively. The weather was unfortunately cold and I felt bad keeping Rachel and Jeremy outside even for the short time that I did.RachelandJeremy-397 RachelandJeremy-392After portraits, I set up the Alien Bees again for lighting the rest of the evening. By placing one on the stage and the other high up at the back corner I was able to light the entire room. I think I’ll write a full blog post on this technique as it has worked well for me. The studio flashes run off AC power and recharge quickly, giving consistent and reliable output.RachelandJeremy-525Here is a shot of the crochet cake followed by the “cake cutting”. RachelandJeremy-436 RachelandJeremy-462For lighting many of the candids I used my new favourite technique of holding the camera in my right hand with something wide and an off-camera strobe in my left hand. Here, I put the Lumiquest Softbox LTz on an SB-900 set to be triggered in TTL with the camera’s built-in flash. The softbox at this range puts out even and soft light, sufficient for a pair of people.RachelandJeremy-597The dance party was started off with an amazing ceilidh that got nearly everybody on their feet. Using the Alien Bees to light the room and playing with shutter speed to control the ambient light I was able to achieve a wide range of looks, from frozen motion to slow speed sync.RachelandJeremy-556 RachelandJeremy-591I’ll end this post with the cutest gift card box I’ve ever seen. Rachel and Jeremy’s wedding was a real treat and I wish them the best! Thanks for reading.

RachelandJeremy-15

Jenny with Taxidermy

My friend Jenny (aka Jenny Omnichord) and I got together today to shoot a series of photos with her omnichord collection… now 11 strong. I’ve been taking photos of Jenny almost since the day I first got a DSLR and it’s always something I look forward to. Not only does Jenny collect omnichords, but she also has a petting zoo worth of taxidermy. In between omnichord photos and playing with her adorable kids, Otis and Arrow, we grabbed this shot.

D7000 at ISO 1250 + Sigma 50mm f/1.4 at f/2.2DSC_9123-Edit

Nikkor 85mm f/1.8 G Mini-Review

When I first switched from Pentax to Nikon two years ago I was excited to get my hands on the 85mm f/1.8 AF D as an affordable and compact fast portrait lens. In not too long I found a perfectly used copy on Kijiji and picked it up on a sunny Autumn Saturday. While I liked the lens overall, I didn’t LOVE it. I found the colour to be poor, high chromatic aberrations (specifically longitudinal aberrations, aka bokeh fringing) and susceptibility to flare. The straight-edged aperture blades meant that stopping down gave poor bokeh. Wide open I wasn’t fan of the bokeh either. The screw-driven autofocus, while fast, lacked the accuracy of AF-S. In the end I sold it.

This past weekend I picked up it’s replacement, the 85mm f/1.8 AF-S G. So, what does the updated lens get me?

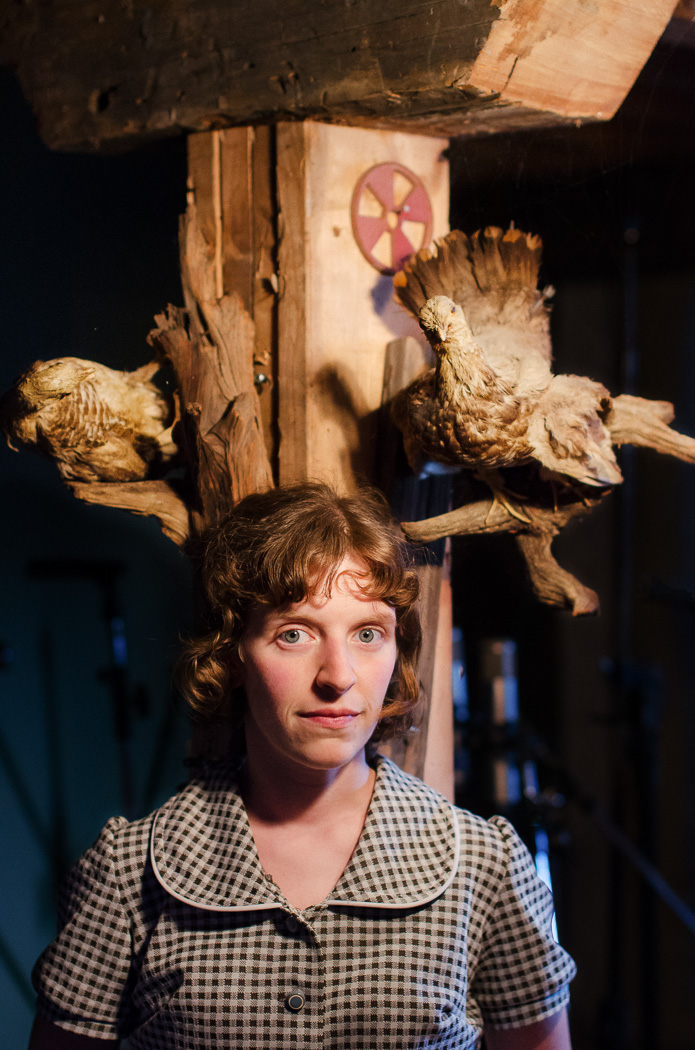
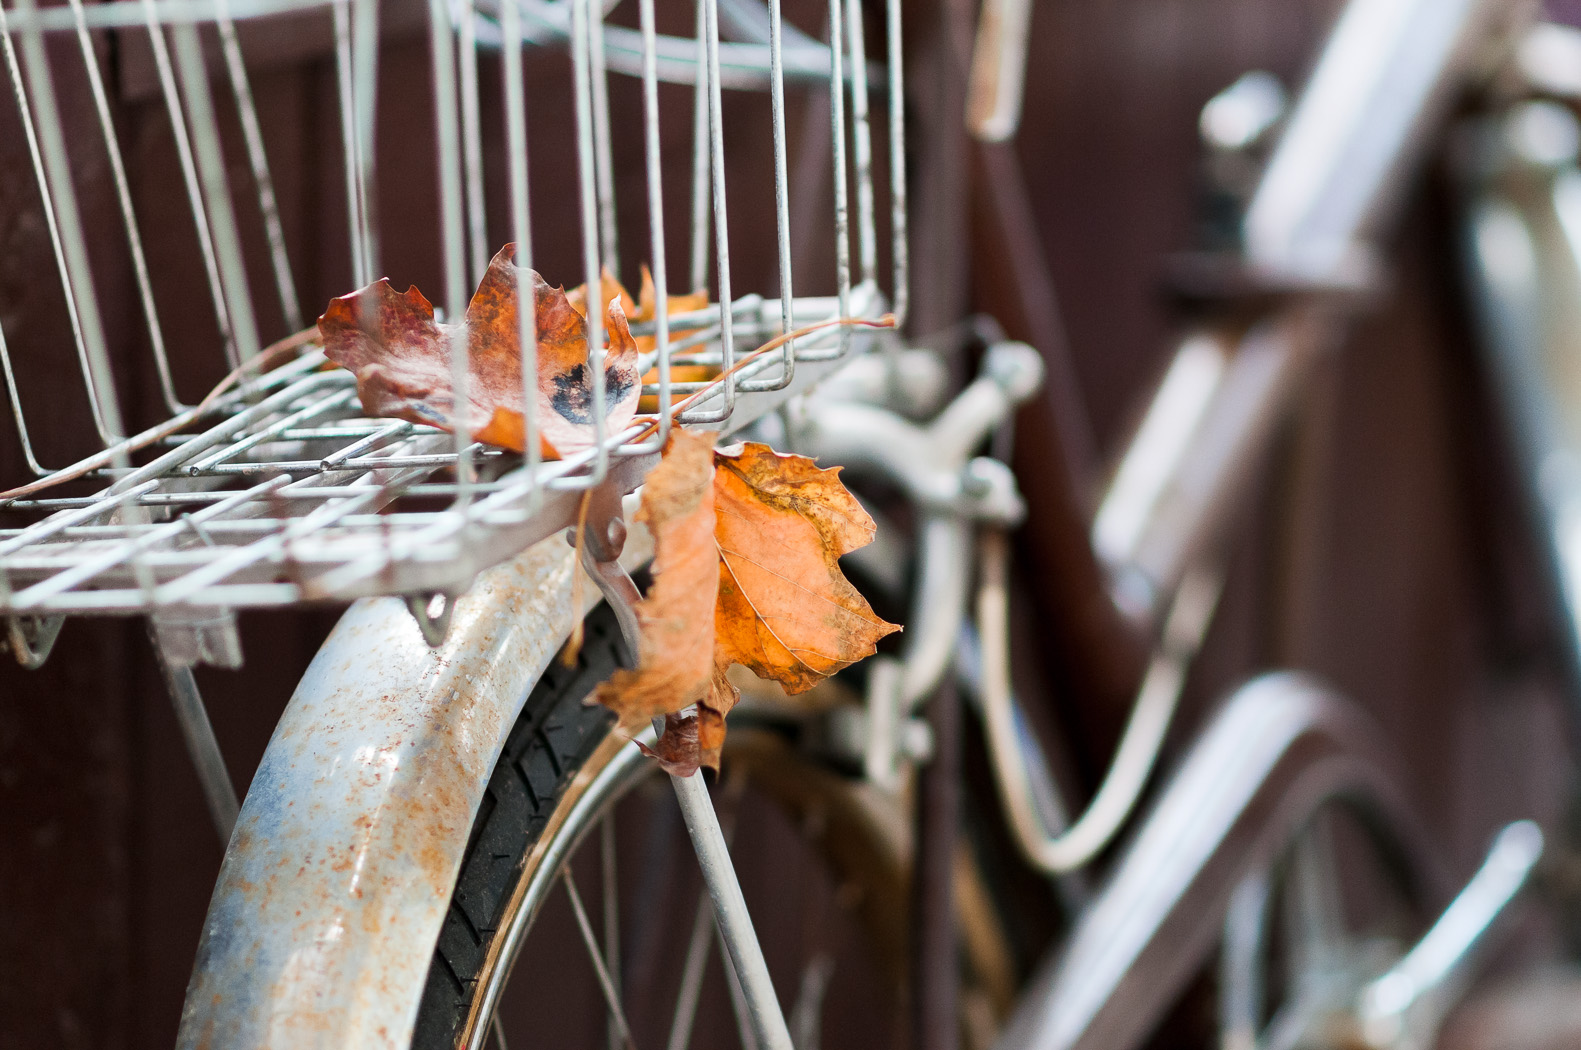
Sharpness. Online tests have shown this lens to be extremely sharp. Photozone measures the G version to be as sharp at f/1.8 as the D is at f/2.8. In fact, the edges of the D lens don’t match the G’s edges at f/1.8 until f/4. After a week with the lens I concur. It’s consistently sharp at every aperture. Now as I’ll show later, aberrations and low depth of field do reduce the apparent sharpness at wide apertures. Below are a couple of images of the cat at f/1.8 indoors at ISO 800.

DSC_9307DSC_9312
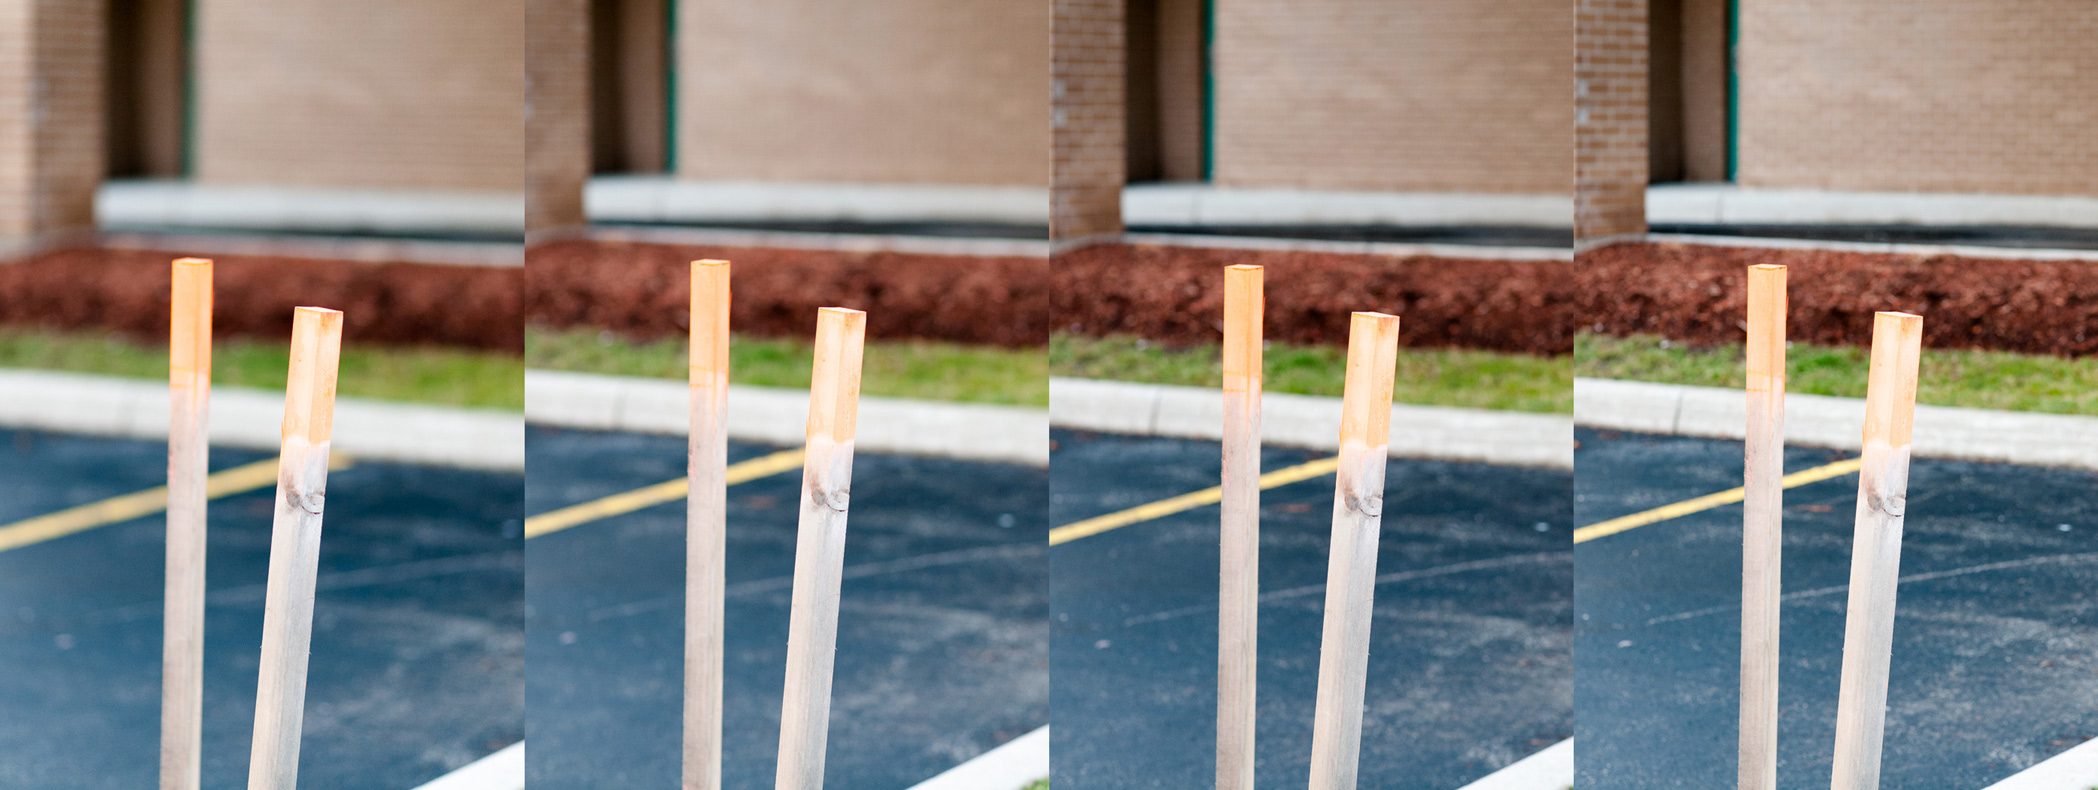
As you can see above, the bokeh is also quite nice. Here is a comparison of the same scene at different apertures (from left to right: f/1.8, f/2.8, f/4, f/5.6).

bokeh
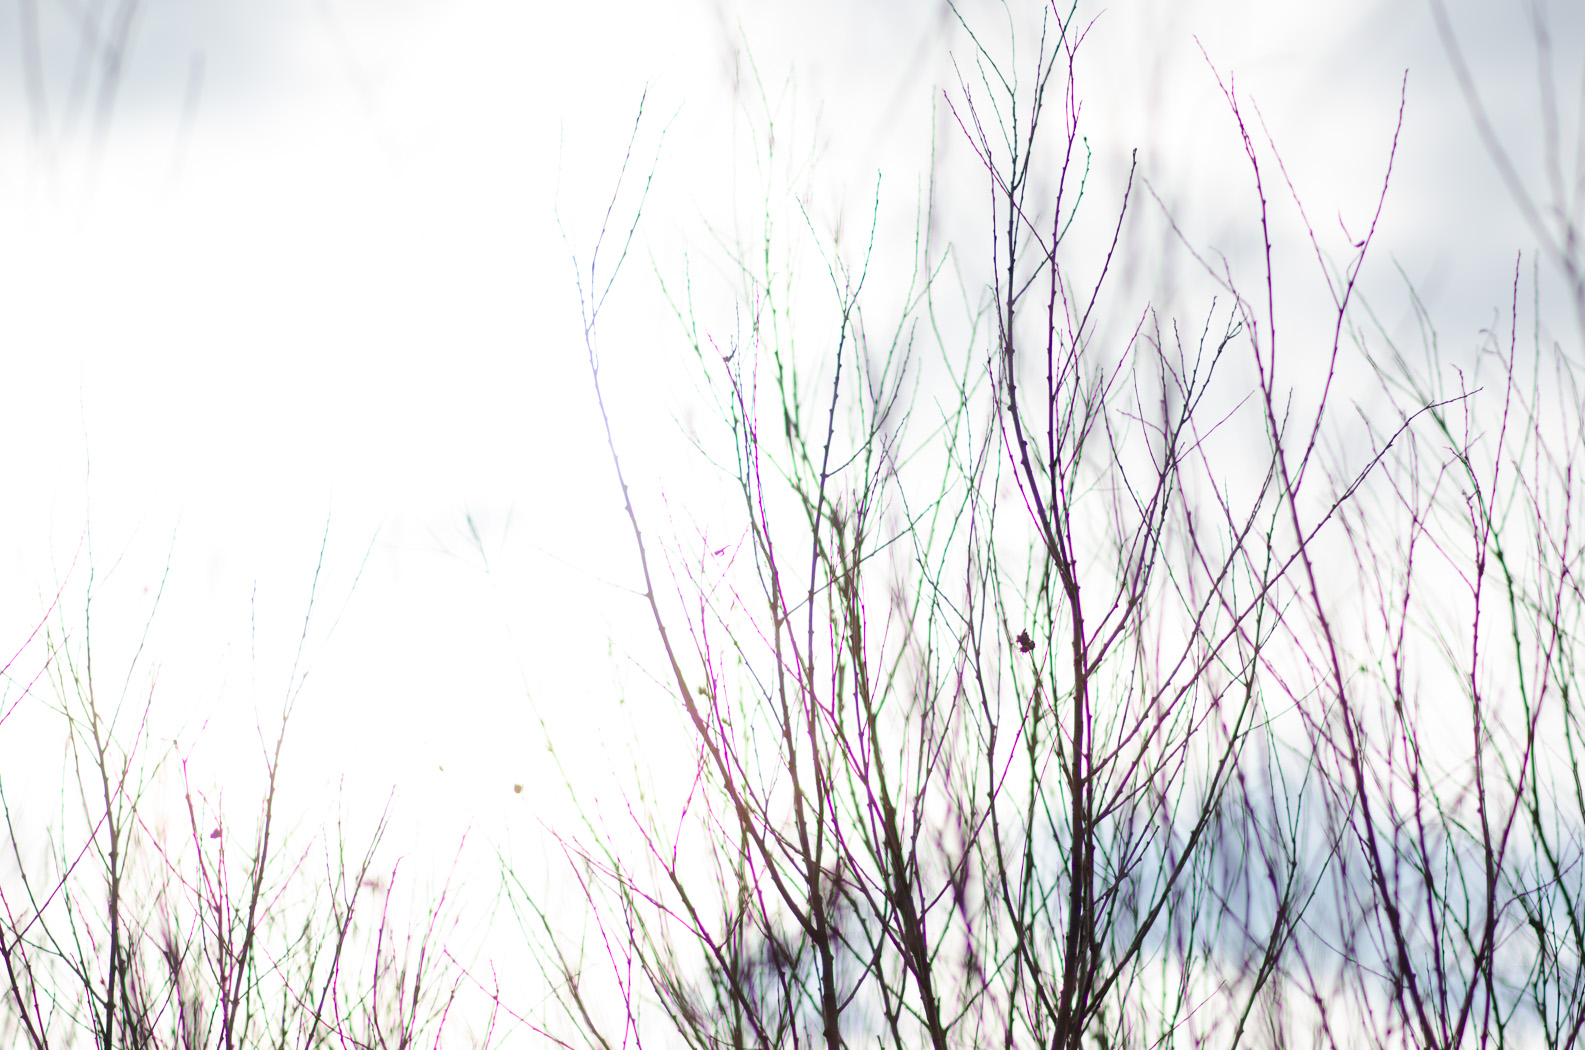
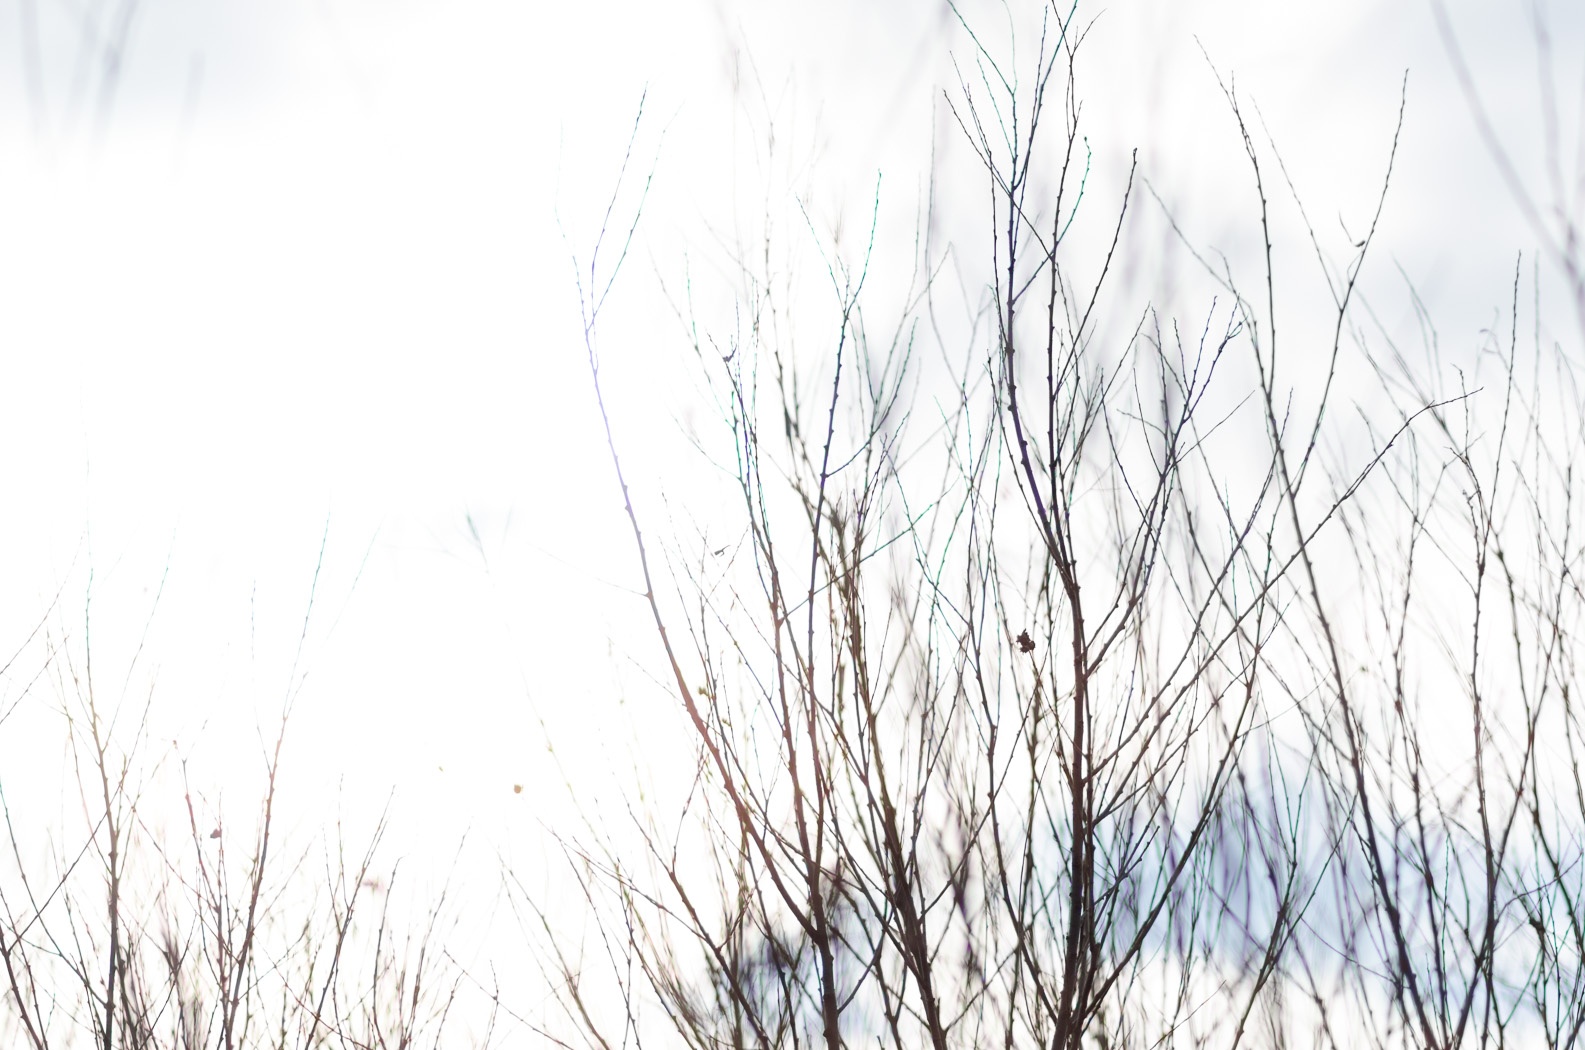
The only negative aspect of this lens that I’ve come across so far is bokeh fringing. In fact, I don’t see it as any better over the D version. The image below, at f/1.8, shows the purple and green colours that appear in either side of the focal plane.

DSC_9257
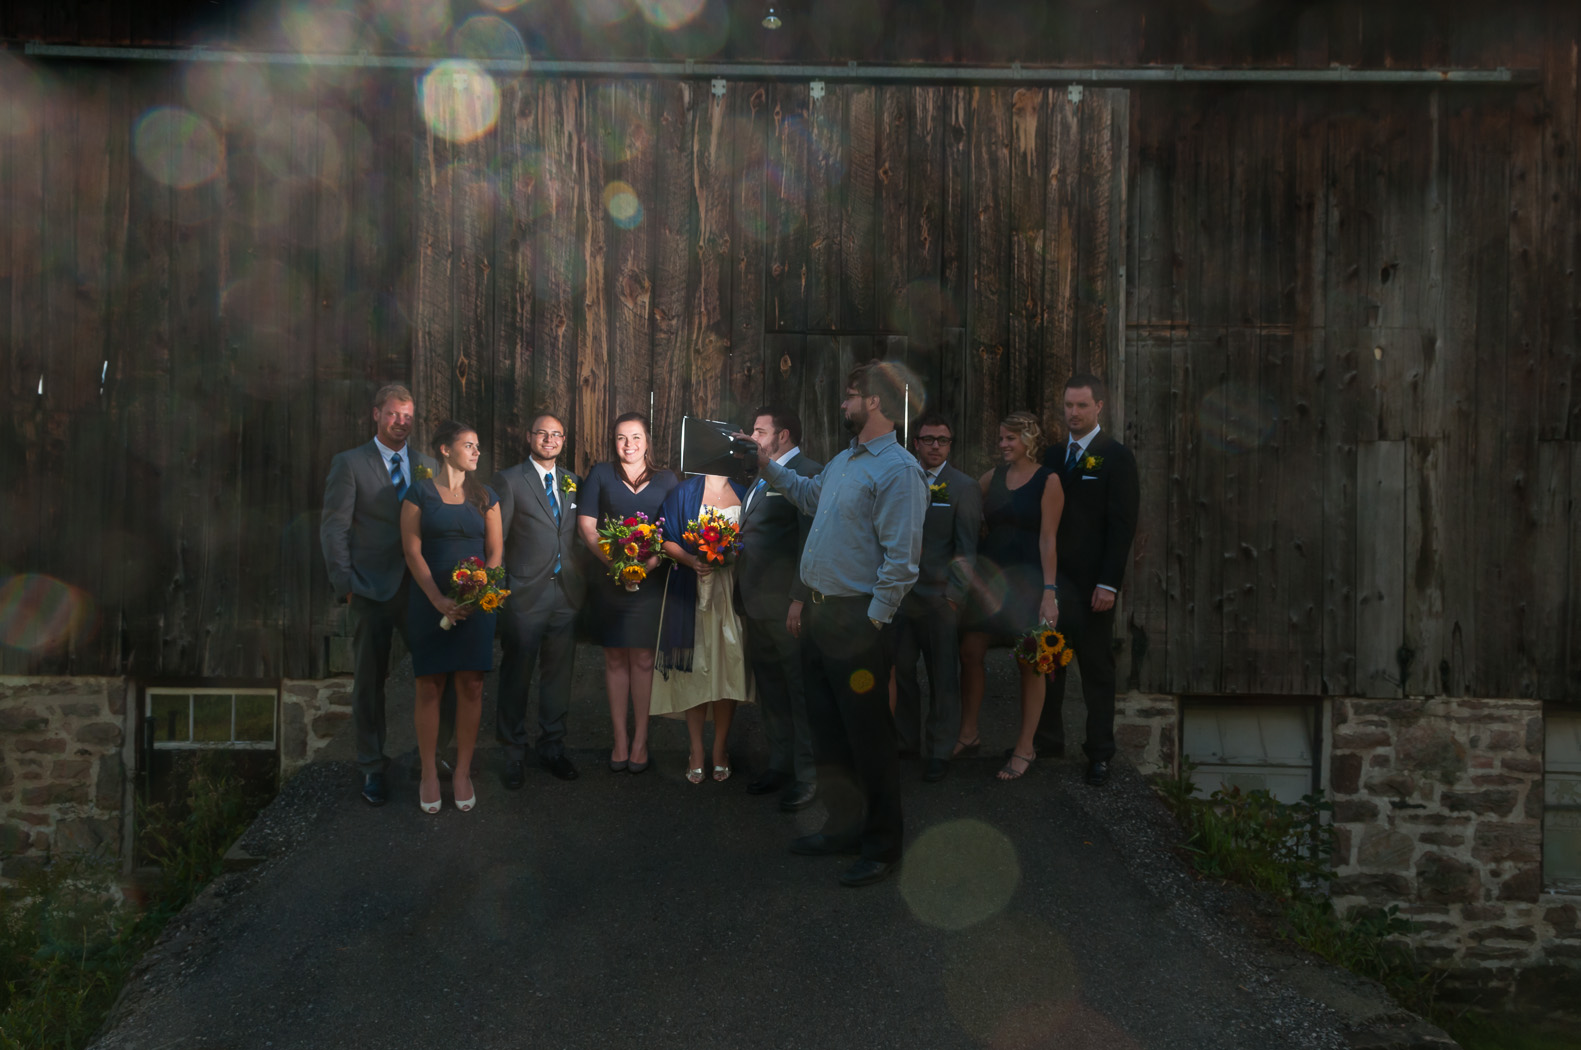
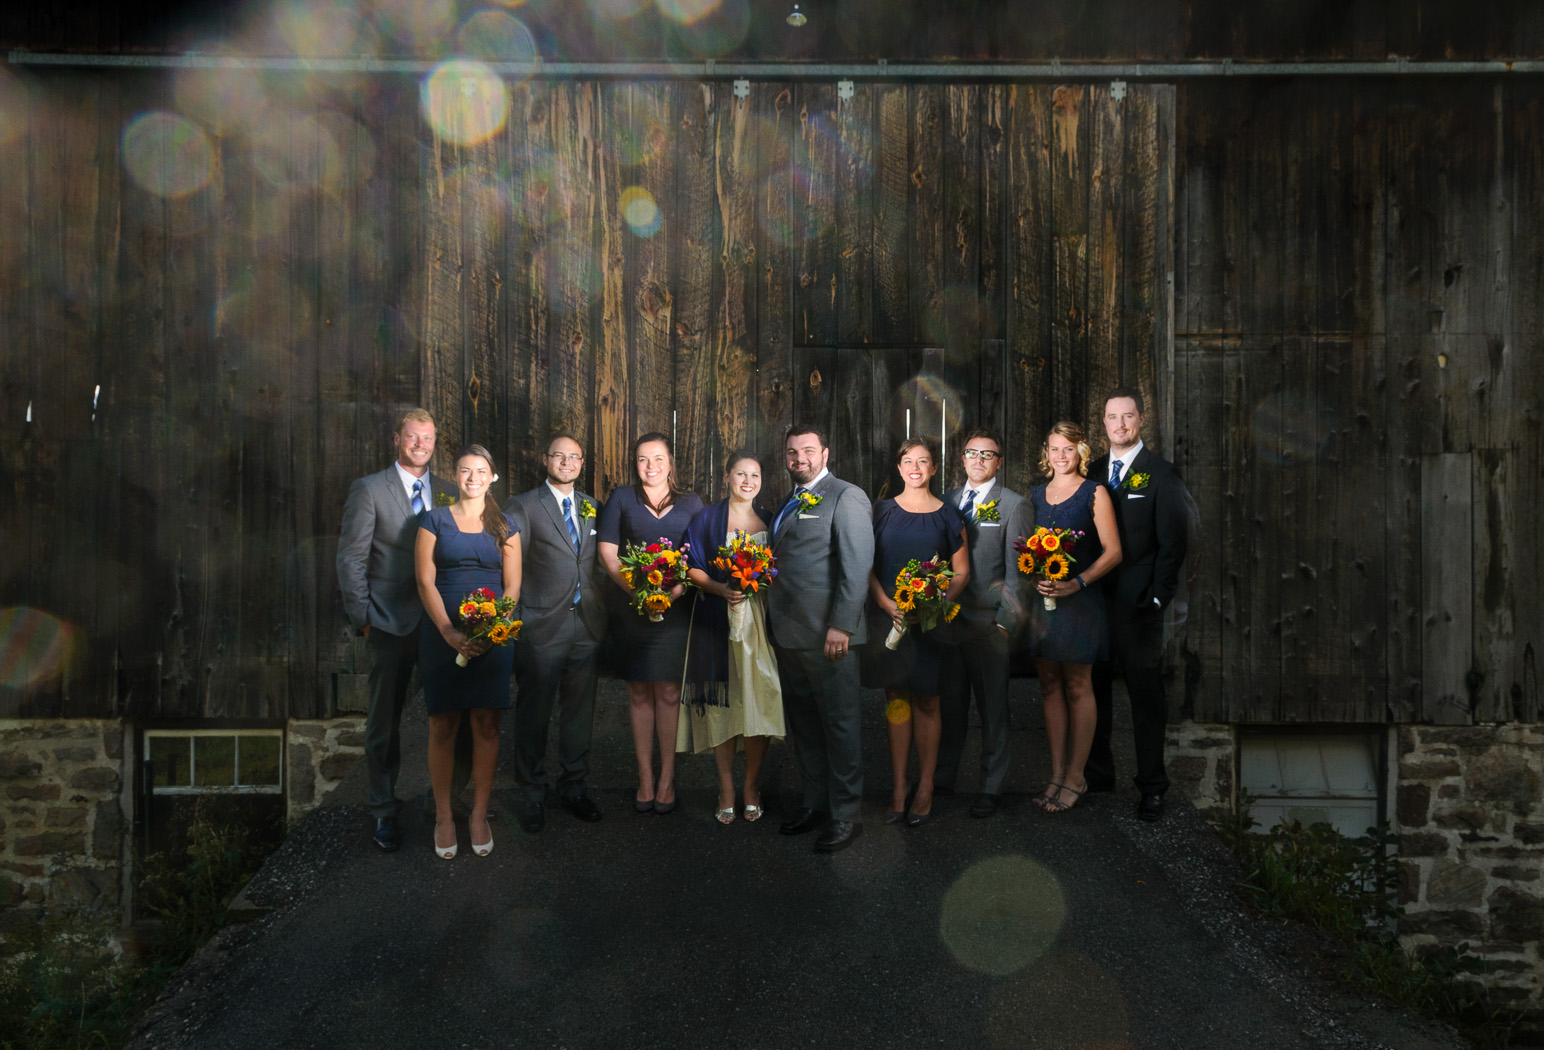
Fortunately image editing software, such as Lightroom 4, have a correction tool for both lateral and longitudinal chromatic aberrations. Here is a stress condition of an extremely backlit subject both before and after Lightroom 4’s lens corrections. While the tool doesn’t remove the purple and green fringes completely it makes for a much more natural looking image.

DSC_9028DSC_9028-2
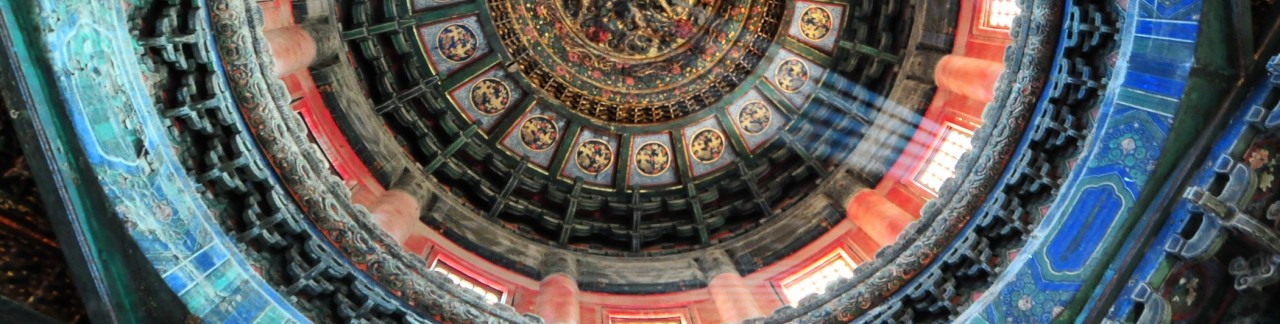
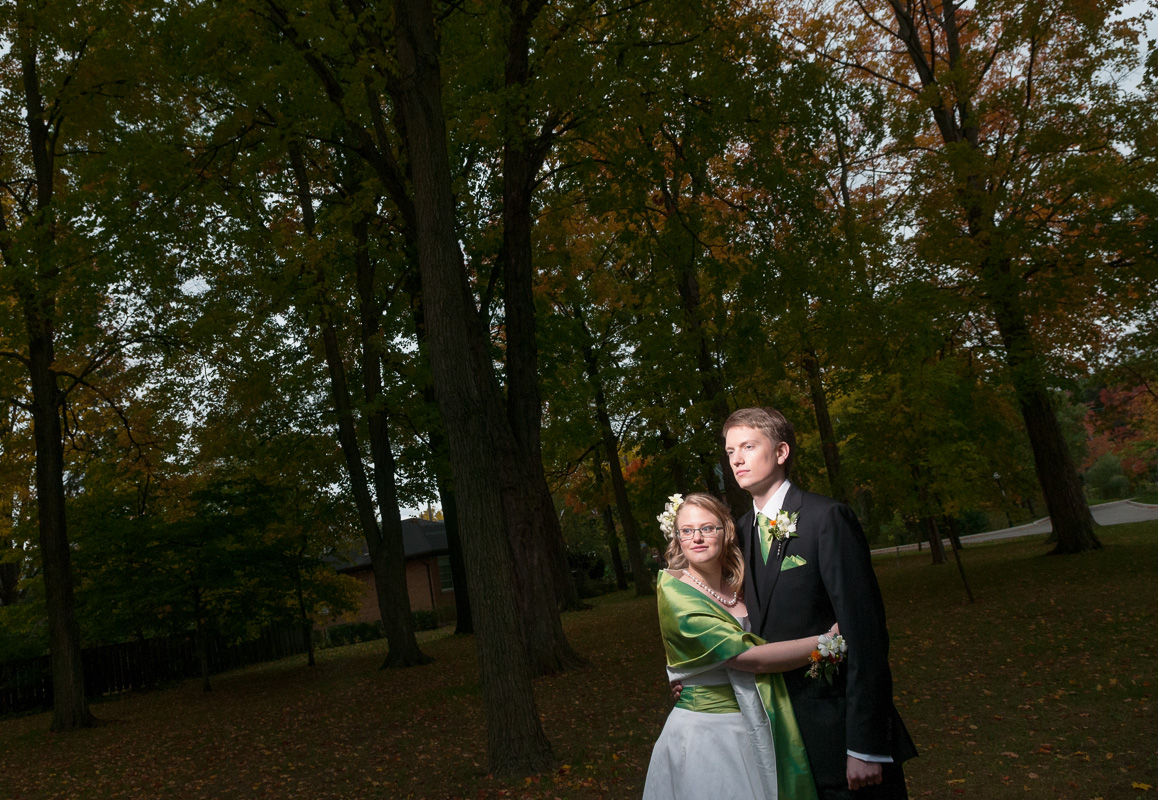
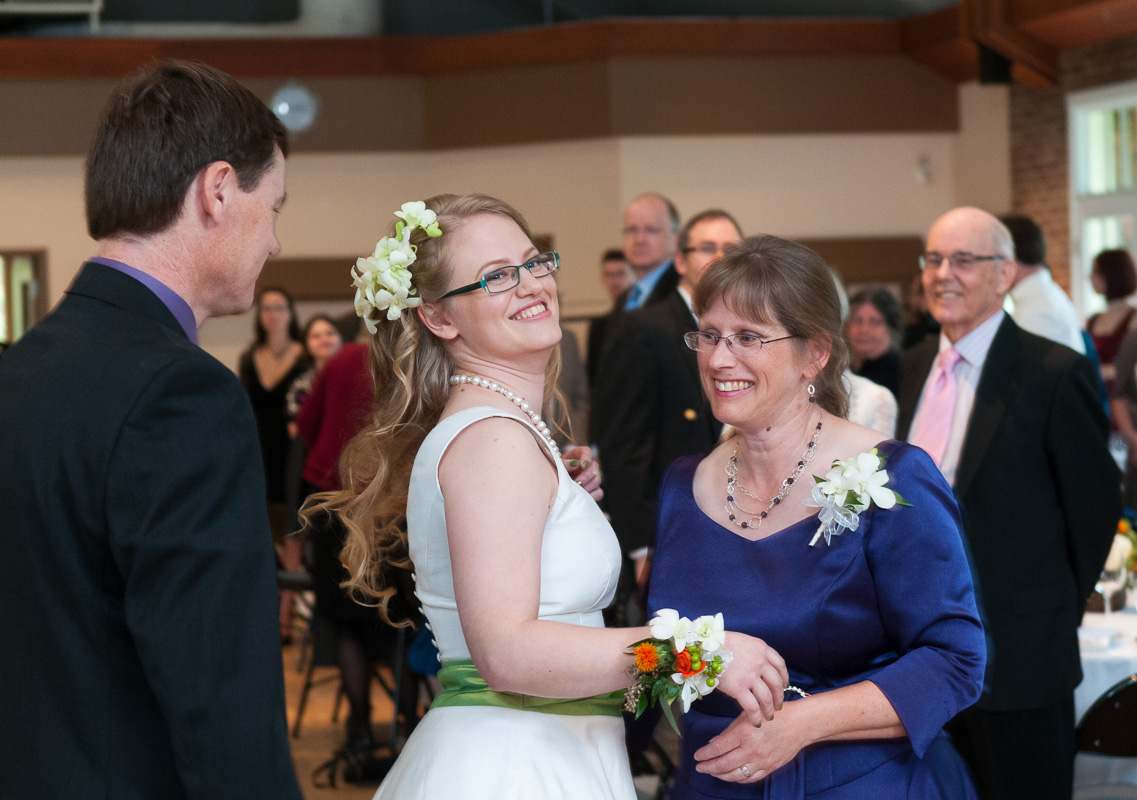
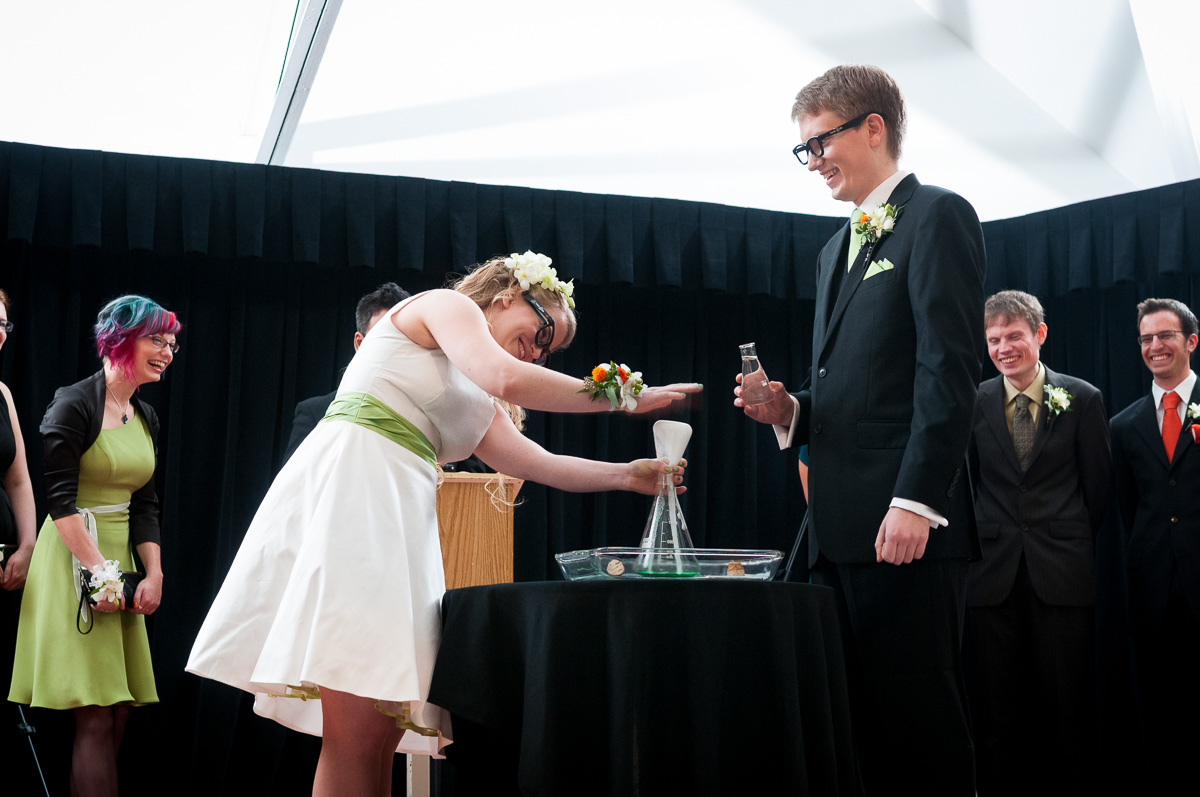
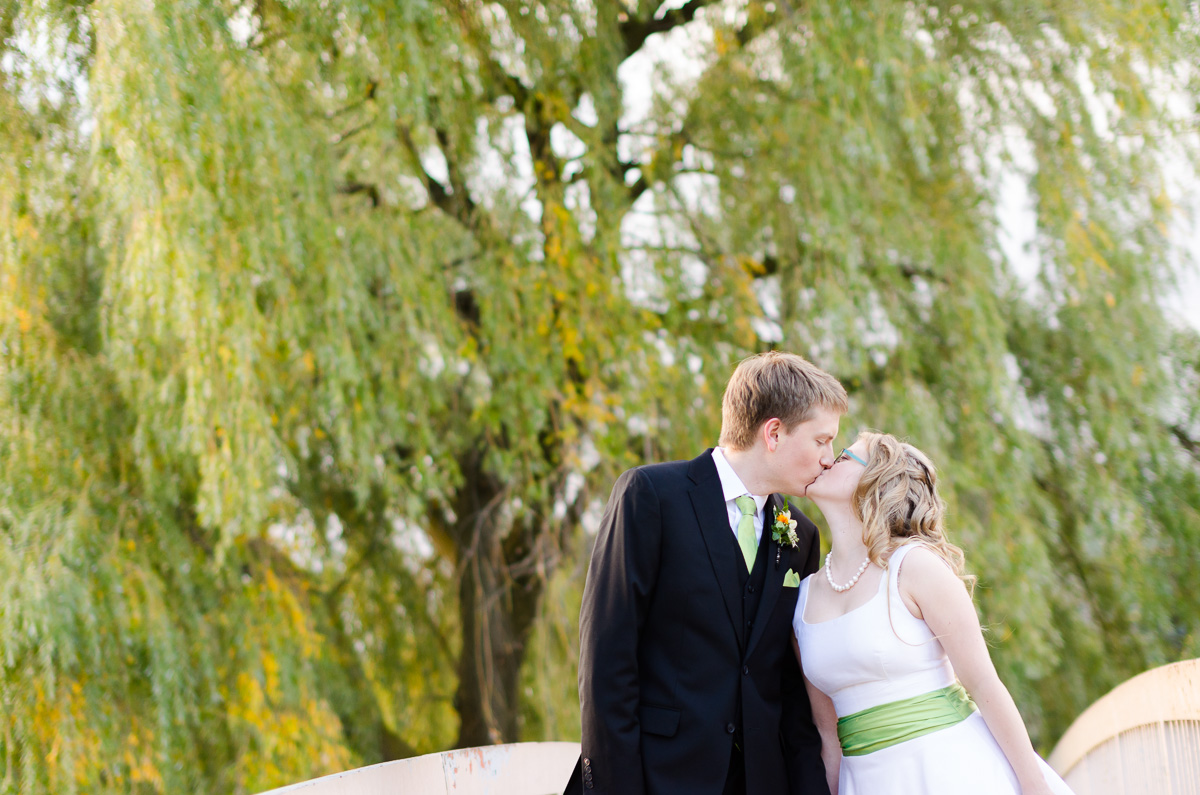
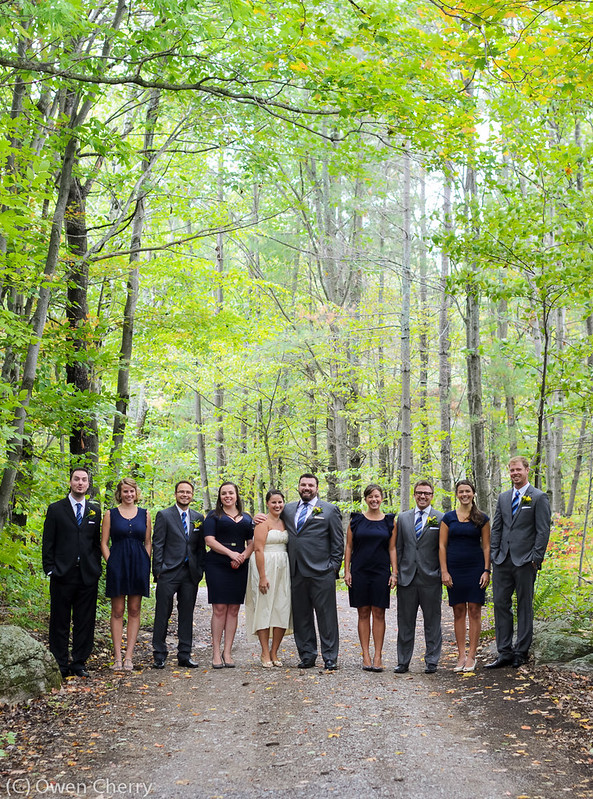
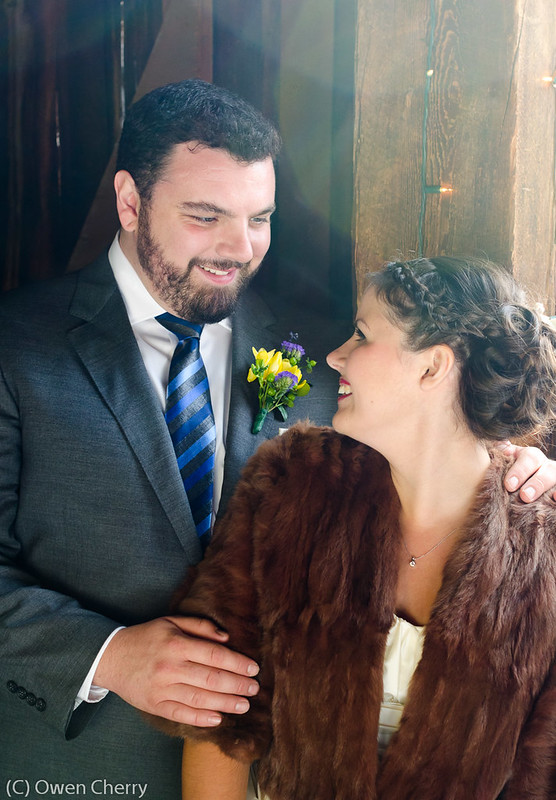
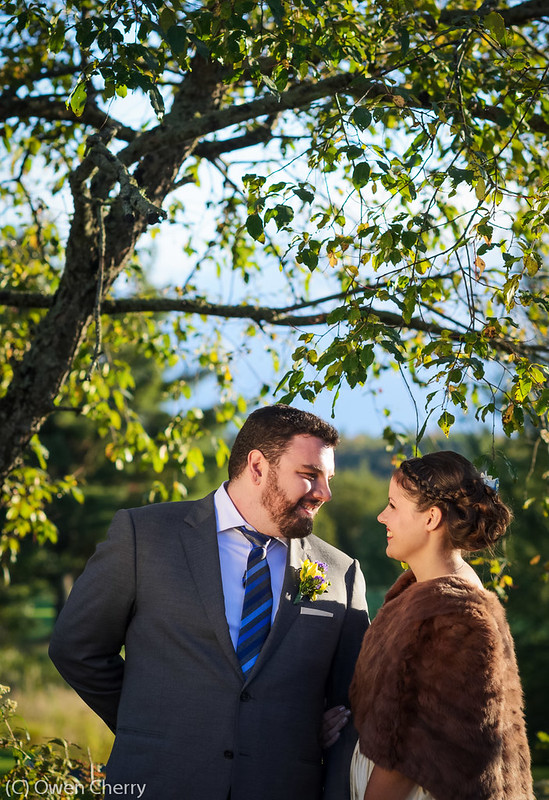
I’m sure I’ll have a lot more to say about the lens in the future, but for now I’ll post a few more photos from my first week with it.

DSC_9292 DSC_9243 DSC_9241 DSC_8986-Edit DSC_8911Thanks for reading!

Owen

Creating a Wedding Party Composite with Flash

I’ve had a request to explain in more detail how I achieved the wedding party composite from yesterday’s post. I borrowed the idea from Ryan Brenizer, who uses this technique very effectively to achieve dramatic (but even) lighting over a group of people. This would be extremely difficult with a single or pair of flashes in a single image, especially on the fly and in the wild.

Here’s how it’s done.

First I set the camera (D300s with AF-S 17-55mm f/2.8 @ 17mm) on a tripod to keep the framing the same between each shot. I used manual mode to ensure consistent exposure. Settings of ISO 200, f/8, 1/250s gave this look:

DSC_6107

The ambient light is at least a stop underexposed, which is right where I wanted it. The next step was to set up the flash. I used a Nikon SB-900 set to wireless TTL control (the Nikon CLS system is powerful and complicated… something I’m sure I’ll delve into explaining in another post) and triggered with the on-board flash. To diffuse and soften the light, I added my favourite light mod, the Lumiquest Softbox LTz. This softbox mounts to the flash with velcro and folds up to the size of a 17″ laptop, which most camera bags nowadays have a slot for. Portt, who was assisting me that day, held the flash up close to each pair of people and I took a shot for each position.

DSC_6111DSC_6112


DSC_6113DSC_6114DSC_6115

In Lightroom, I batch processed the five images for exposure, lens correction, sharpening and then opened them in Photoshop as layers in a single file. Using the first image as a base layer, I painted in the relevant bits from the successive layers and finished things off with some global and local curves and dodging/burning. Here’s the final image:

DSC_6111-Edit

To get this look in a single image would have required some pretty tricky lighting, both to light each person evenly and to control the spill on the background. In all, the composite took just a few minutes to shoot and less than half an hour in Photoshop. An added bonus to shooting each pair separately is that I can focus on just two faces at a time (i.e. no blinkers).

A Wedding in Muskoka

Back in September I had the opportunity to photograph Laura and Jeremy’s wedding in Gravenhurst, ON.  The reception took place at Laura’s family owned campground in a beautiful old barn, with the dining/dancing upstairs and a wood stove and arcade in the basement. The guests were lovely, the property was lovely and the weather was occasionally lovely (including a surprise rainbow over the barn). I have a lot of respect for Laura and Jeremy for pulling off such a well-executed event. Holly at Holly Matrimony worked tirelessly throughout the day and kept things running so smoothly. Portt was a great assistant and car-mate/cabin-mate.

Did I mention that there was a last-minute pig roast?!

Here are some of my favourite shots from the day. First off is the wedding party on the lane between the barn and the family home. I shot it with the Sigma 50mm f/1.4 at f/2.5, giving just enough depth of field to keep the party all sharp.

Wedding Party on the Lane

The following photo was taken in the basement arcade. To fill-in the people in the back corner I used an SB-900 off camera left, CLS-controlled by the on-camera flash.

Wedding Party in the Basement Arcade

Below is actually a composite of five photos. Portt held a flash with Lumiquest LTz softbox close up to each pair in the wedding party. I had exposure dialed back on the camera to probably -2EV so that the softbox could provide most of the light. The images were stitched together in Photoshop, where I masked Portt out of each one. The lens flare and spots were entirely unintended and caused by the sun peaking over the top of the barn and the raindrops on my lens.

Wedding Party Outside the Barn

This next photo is another composite, only this time it’s from 30+ photos taken with the D7000 and a wide-open 85mm f/1.4 G (rented, not owned). The shallow depth of field of the 85 at f/1.4 makes this panorama appear like it was taken with a wide-angle lens with an extremely wide aperture.  This technique was popularized by Ryan Brenizer, one of my favourite wedding photographers.

Alone in the Barn

Here are four more shots from the day. First the D7000 + Sigma 50mm f/1.4 (I think Portt was holding a white reflector here)

Close-up in the Window

D7000 + Nikon 85mm f/1.4 G (with Portt holding a gold reflector)

Taking full advantage of the sun on an otherwise rainy day

D300s with Nikon 17-55mm f/2.8 (on a tripod)

A Wedding in a Barn

D7000 with Sigma 50mm f/1.4, ISO 2500. I had to brighten the image by well over a stop… probably 2 stops… hence the noise.

First Dance

Thanks for looking!