 Today I’d like to show you a really effective, but simple, way to boost contrast and saturation in an image by walking through how I arrived at the above image. The trick is using a layer blending mode called ‘Soft Light’. Photoshop has the ability to blend different layers with each other using a number of methods. The Soft Light mode works like this:
- Areas that are brighter than 50% grey get ‘screened’, meaning they become lighter depending on the lightness of the lower layer.
- Areas that are darker than 50% grey get ‘multiplied’, meaning they become darker depending on the darkness of the lower layer.
I’ll demonstrate. Here is a layer in Photoshop that is a simple gradient going from white to black, left to right. In the middle is 50% grey.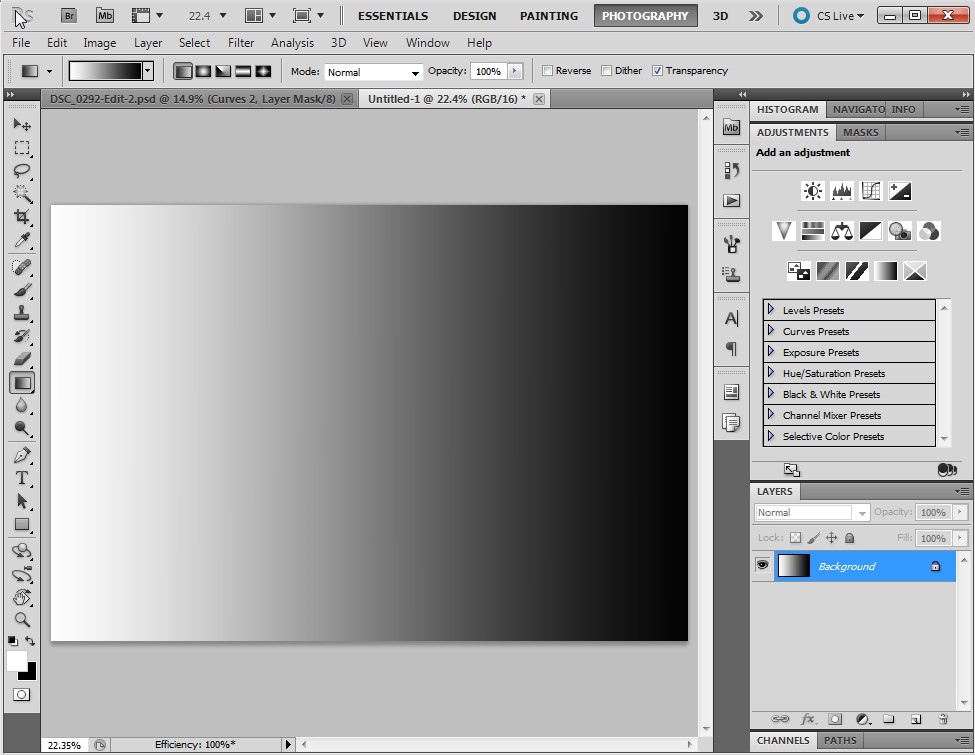 If I add an adjustment layer on top of this, say ‘Levels’, and change its blending mode to Soft Light the lights get lighter and the darks get darker depending on how light or dark they are. In the middle, 50% grey, is unaffected. In the image below, the top half has been blended with Soft Light. The bottom half is the same as the previous image. Notice that the gradient becomes more steep… the transition between white and black is shorter. This is an increase in contrast.
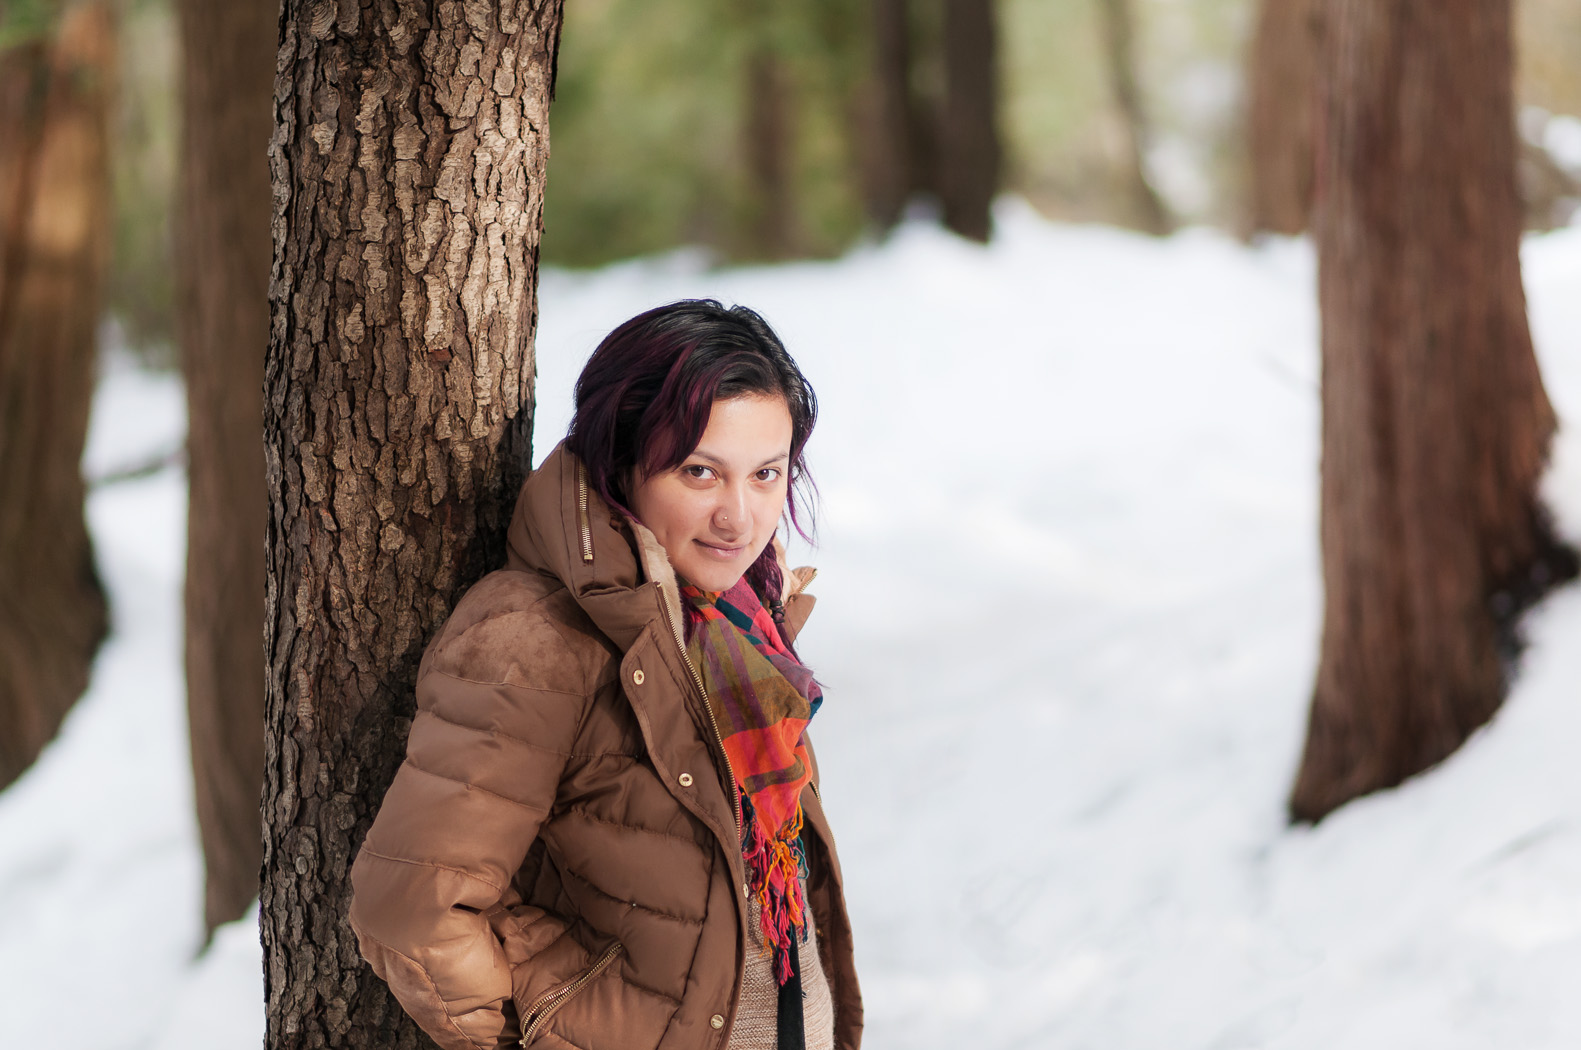
 In an image with colour, Soft Light blending can also increase saturation. I’ll demonstrate with an image. First, I’ll show the image as it is first pulled out of Lightroom into Photoshop.
 If I add a Levels layer and blend it with Soft Light the contrast and saturation increase dramatically.
 I can scale the effect back by lowering the opacity. Here I’ve set it to 47%:
 I’m finding that there’s still too much of an effect on Mitzy so I’ll paint some grey into the layer mask over her. Grey will decrease the opacity of the mask by another 50% where I’ve painted it in.
 I’m happy with how the Soft Light blending has improved the image so let’s finish it off. First, I’ll remove some of the messy details in the bottom right corner using the Spot Heal Brush in a new layer.
 Next I’ll brighten Mitzy a bit further using a curves tool, masked so it only affects her.
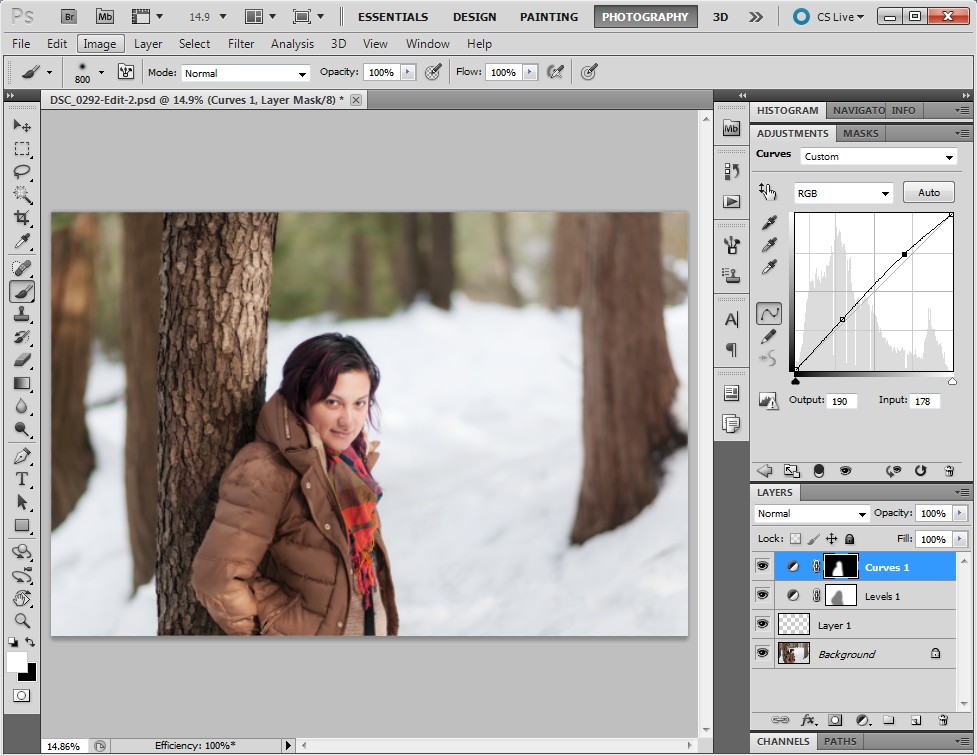 Here, I’ve decided that I want to bring a bit more of the contrast back in to the background so I increase the opacity of the Soft Light layer.
 Finally, I add a bit more contrast into the right side of the image with a masked Curves tool. The image is done!
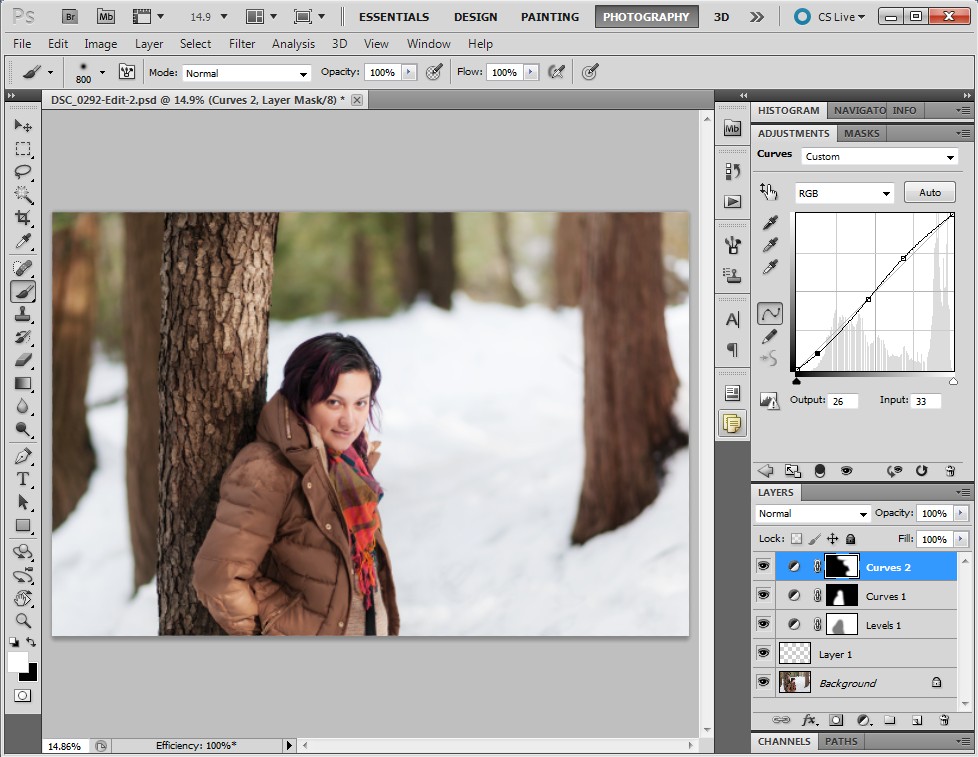 So there have it. Soft Light blending. Quick and simple!
