Nik and Erin’s Wedding at Honsberger Estate

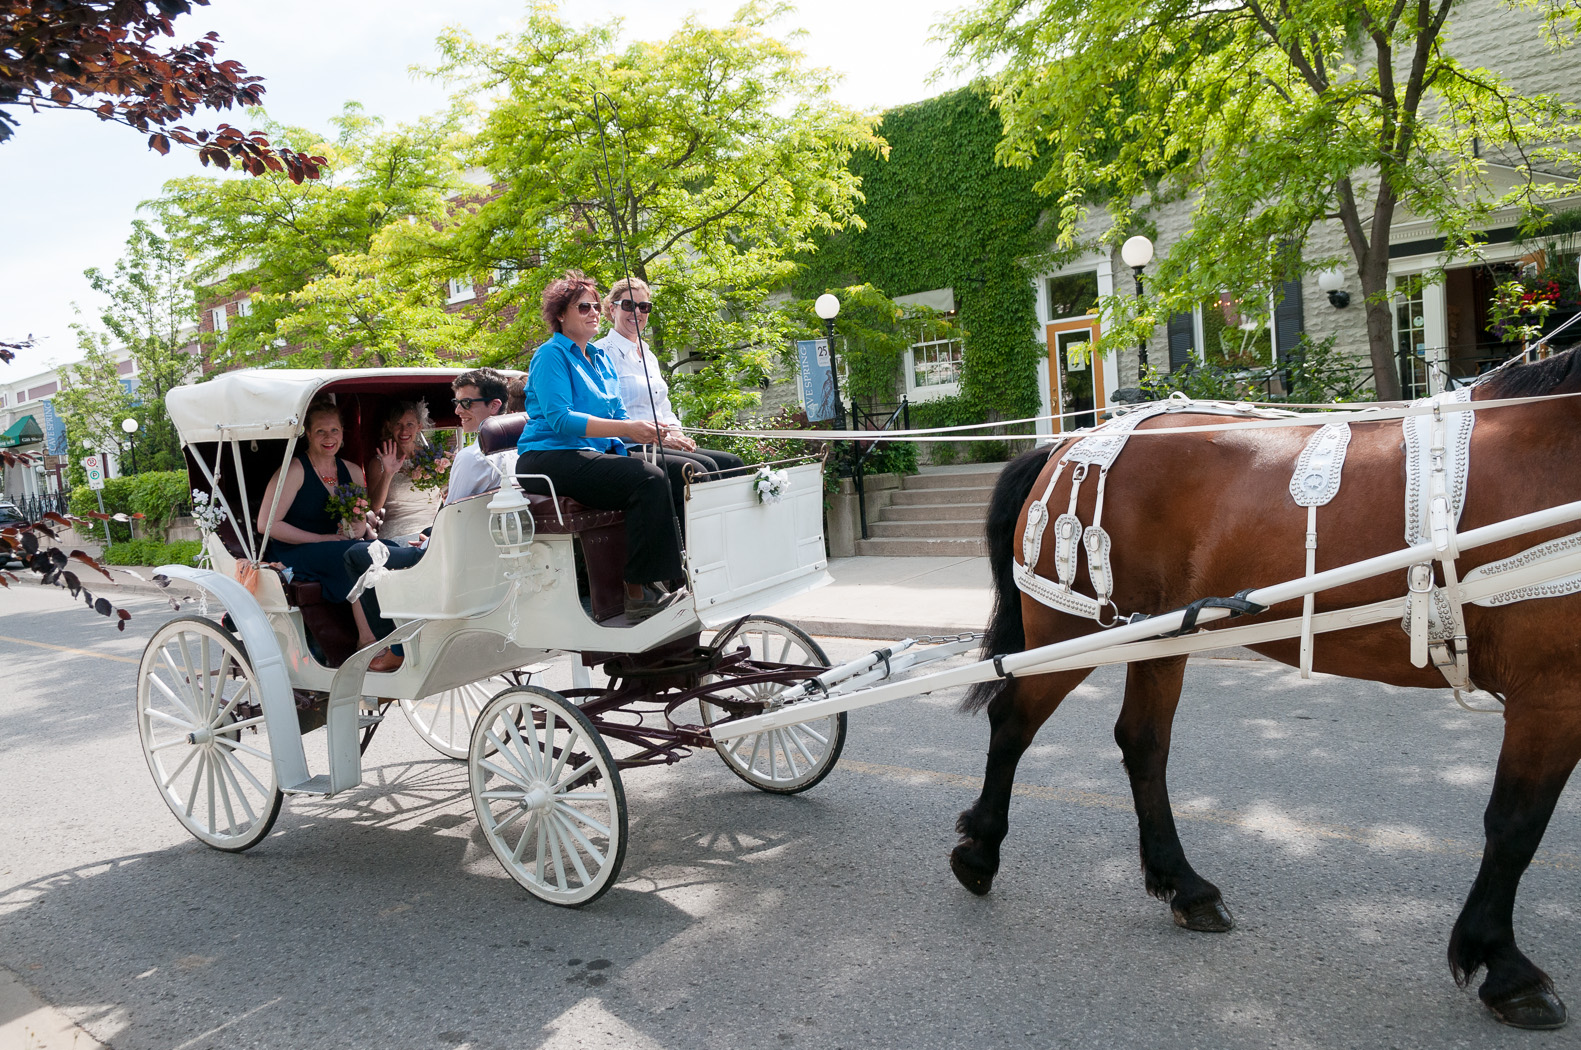
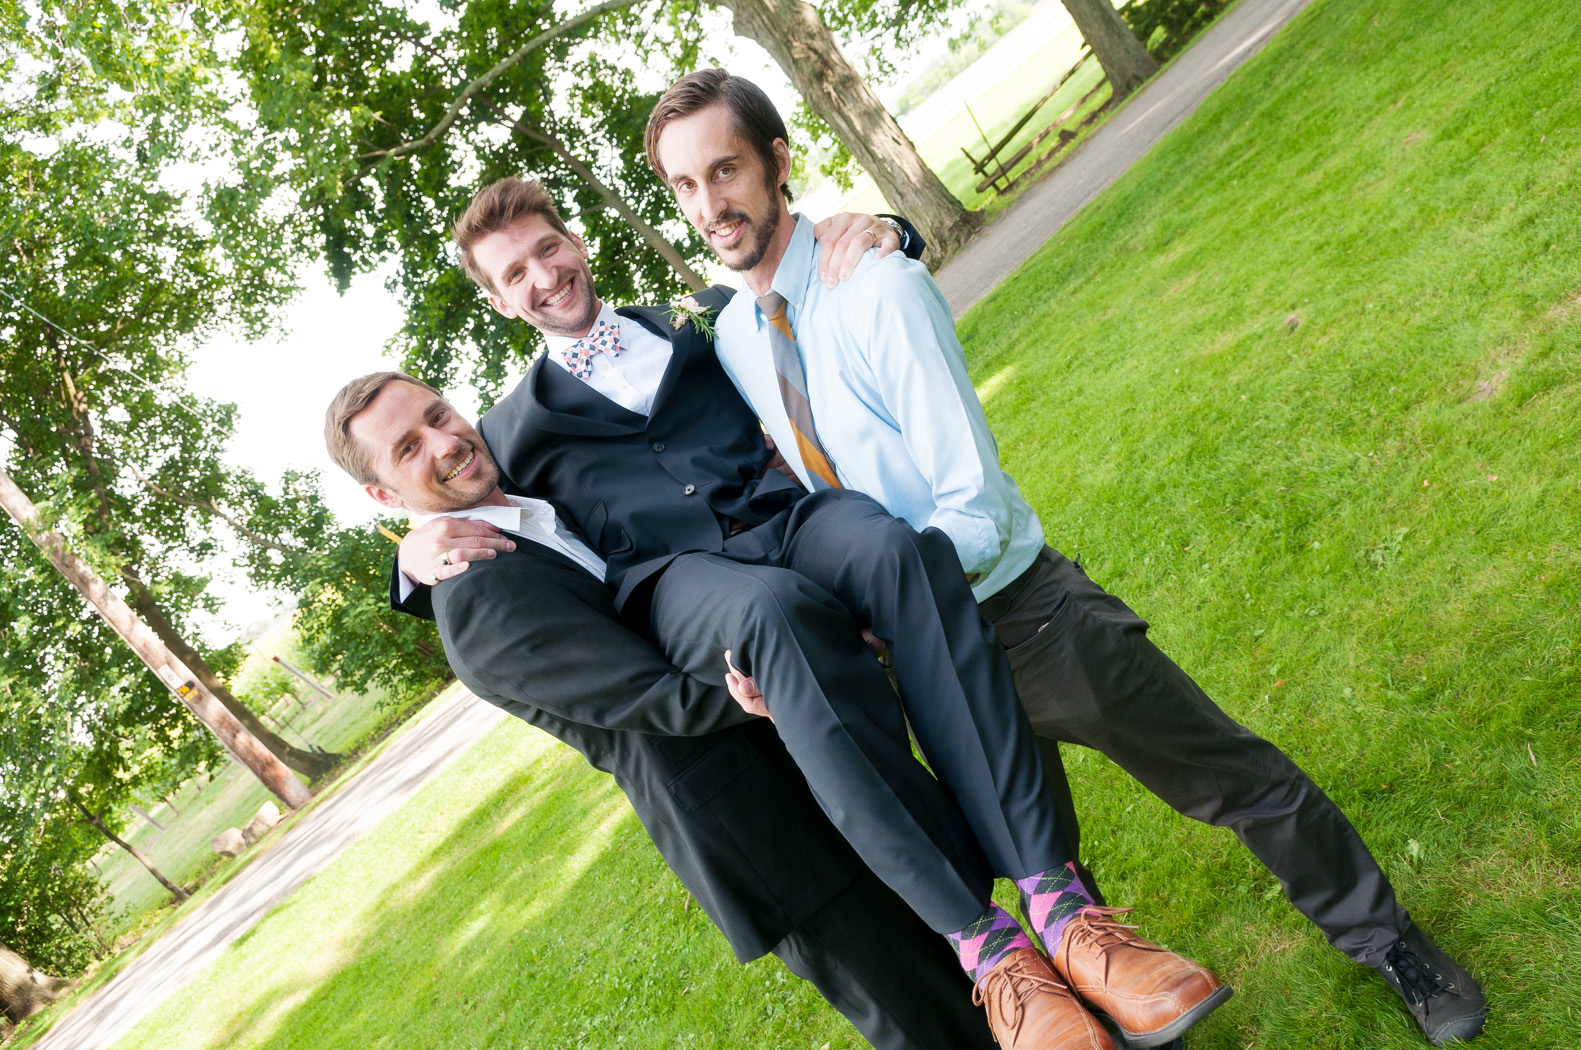
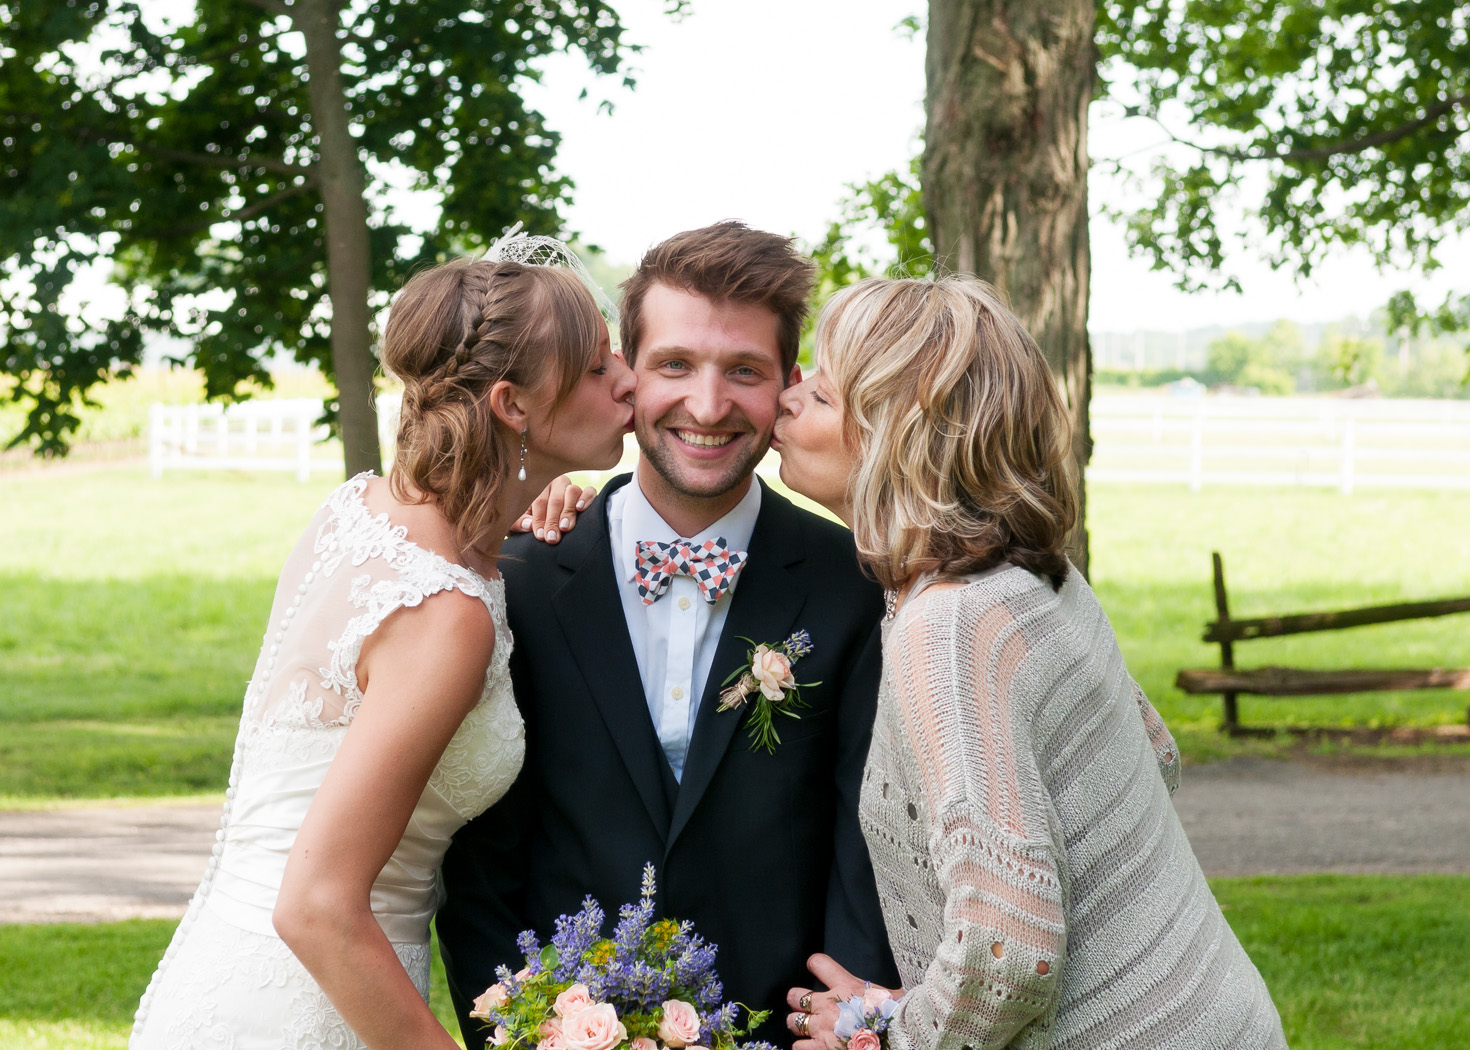
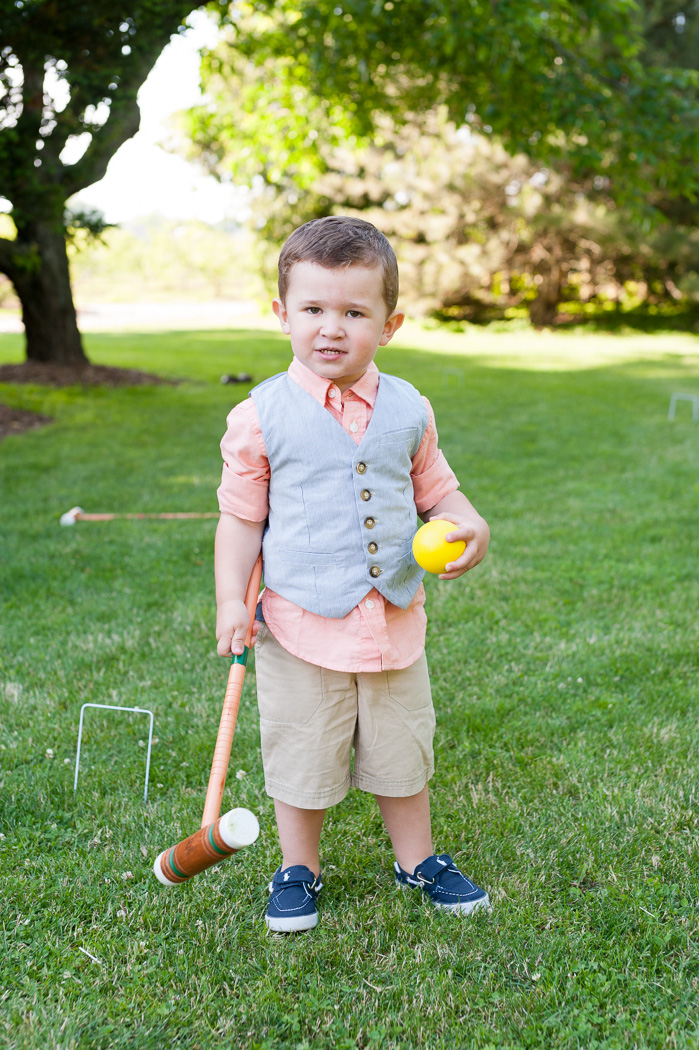
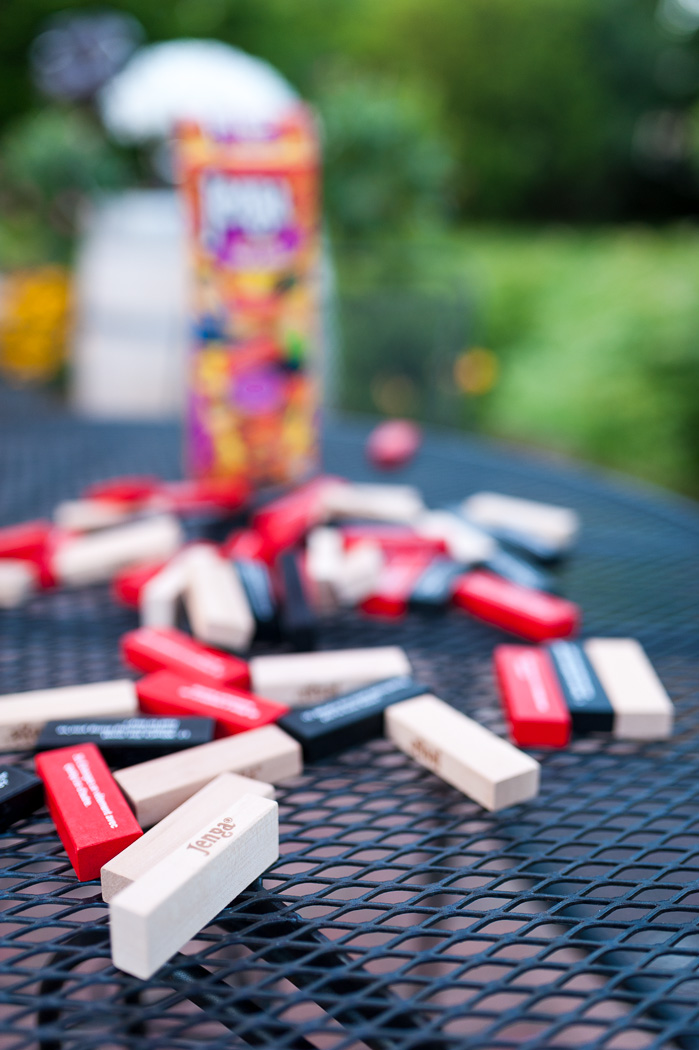
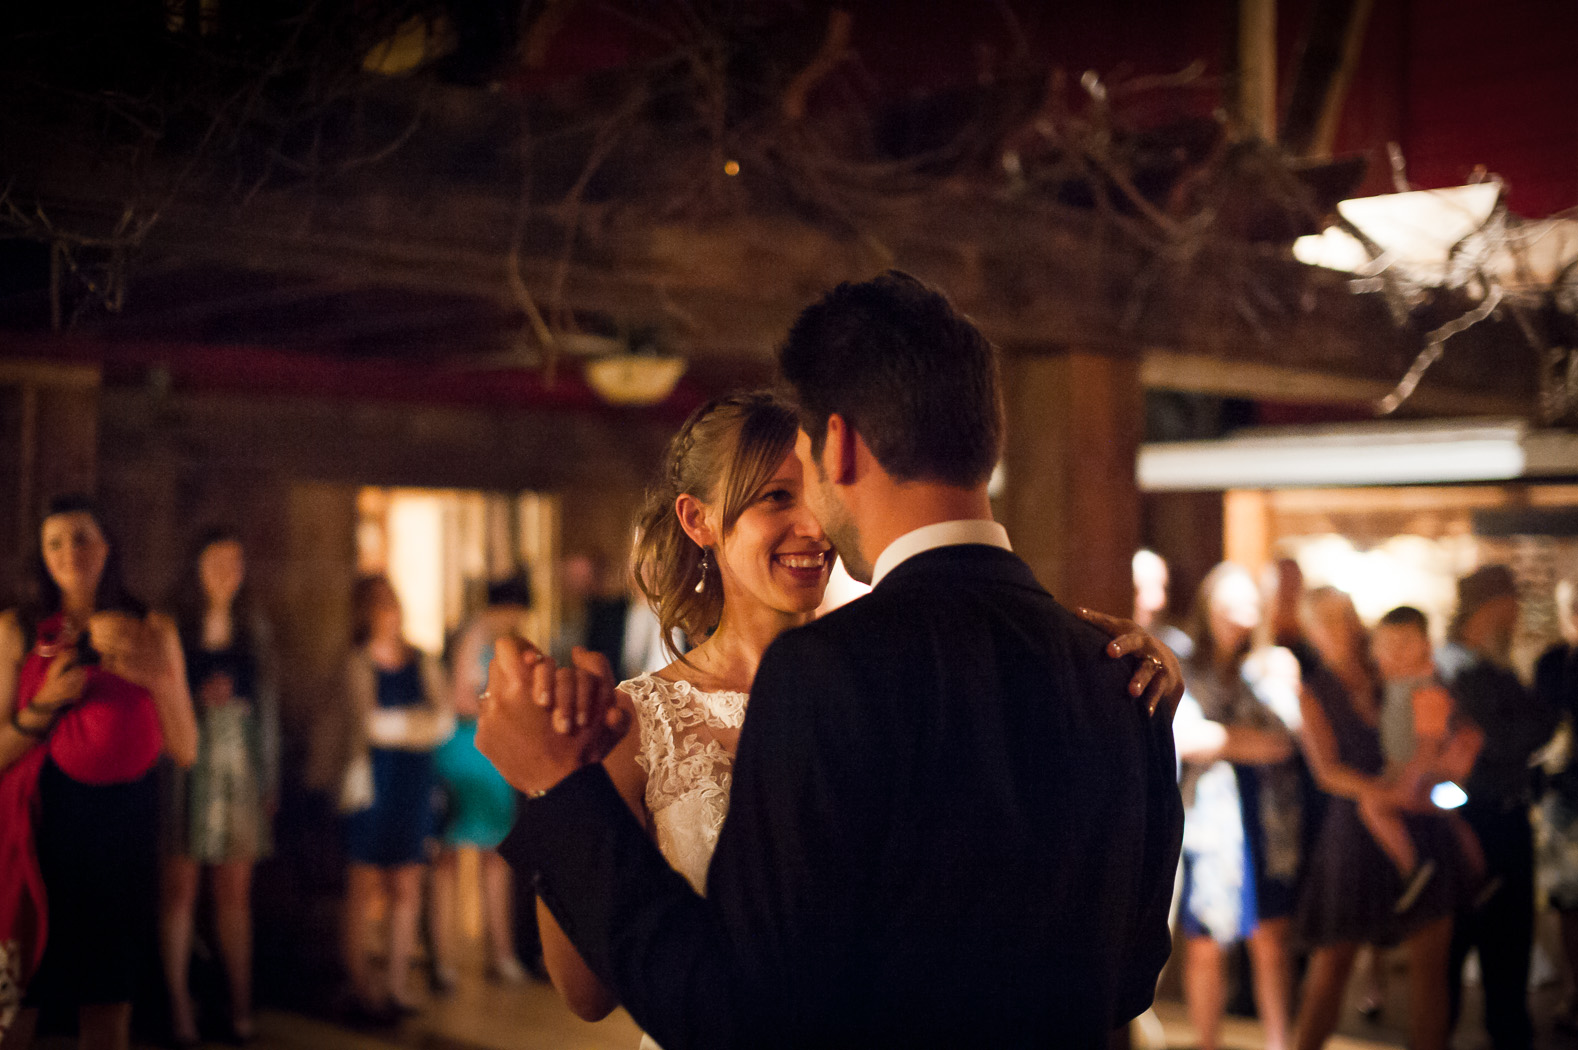
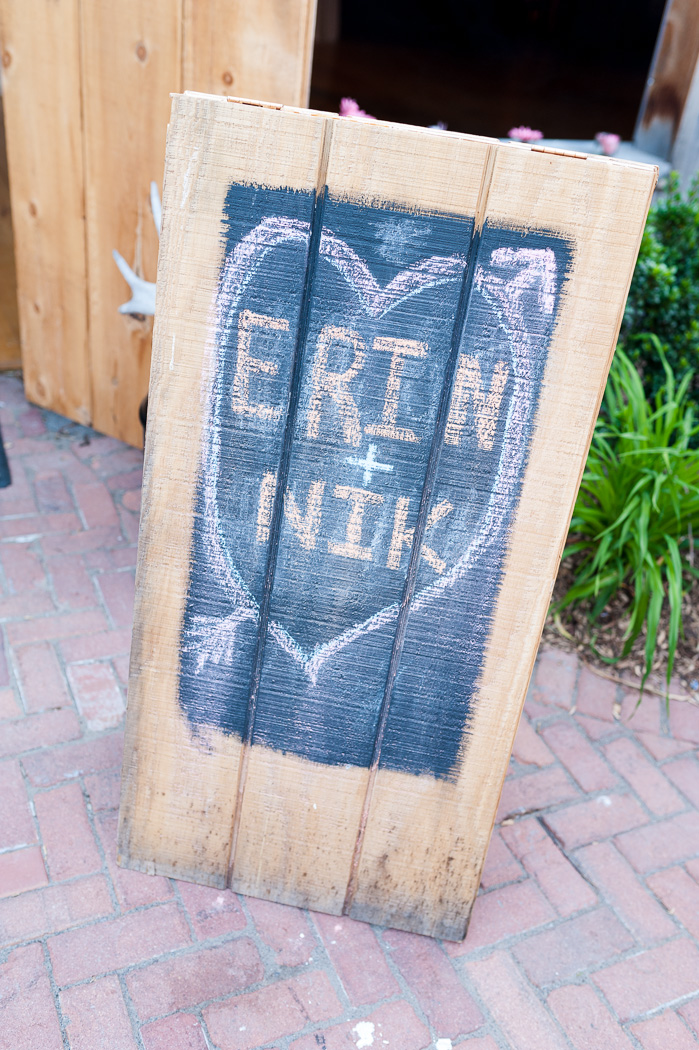
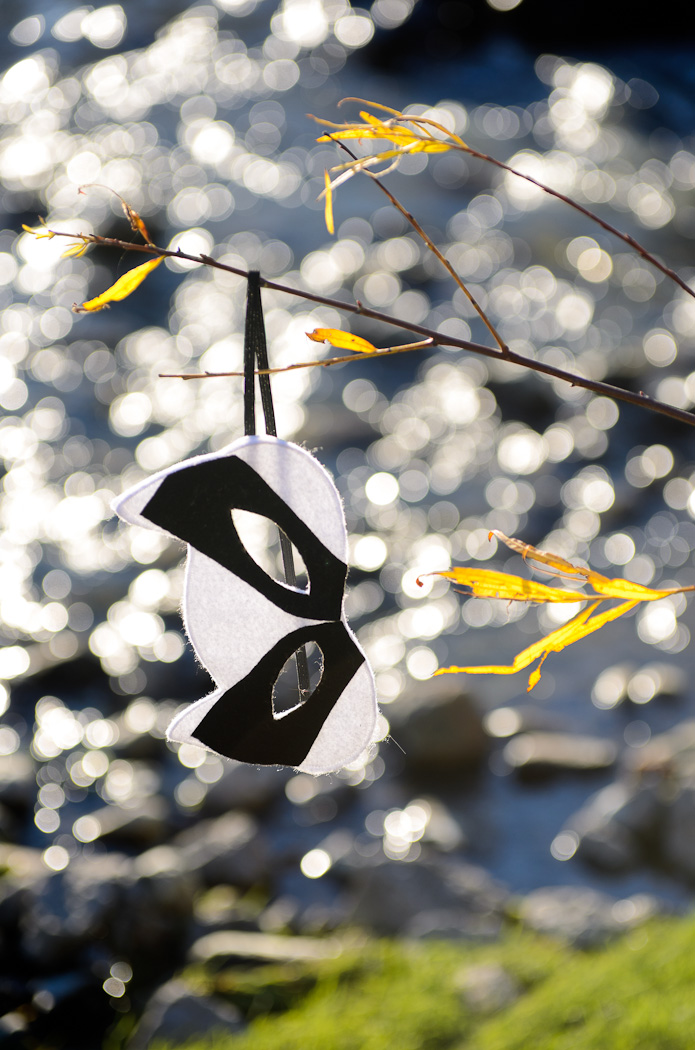
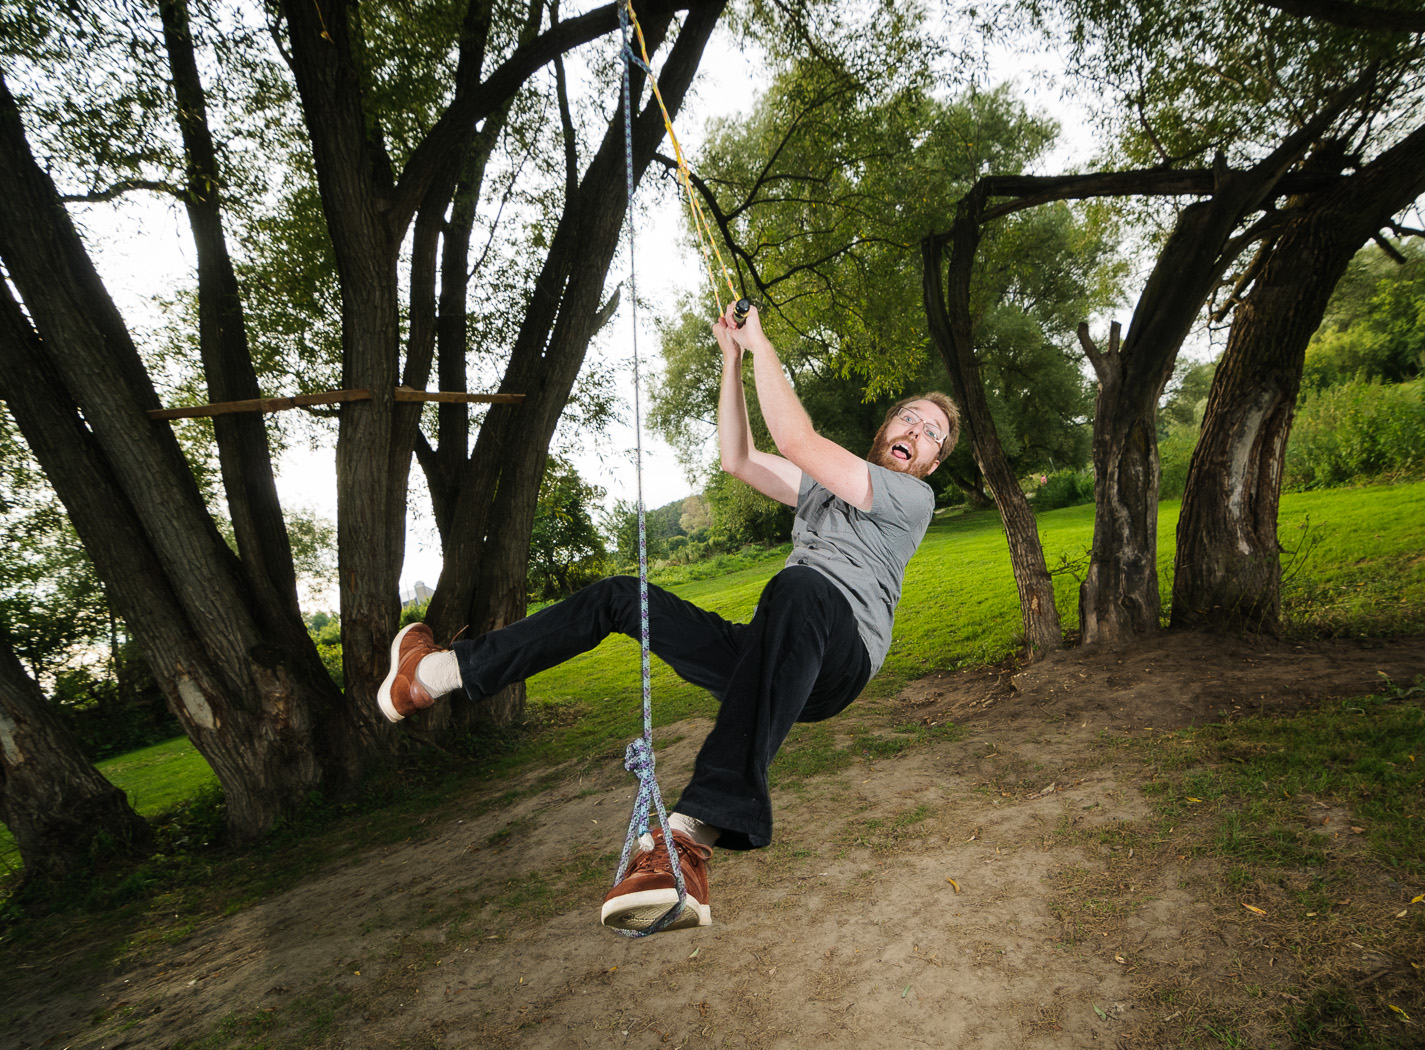
Nik and Erin’s wedding last month was beautiful from start to finish. The setting was a winery in the heart of the Niagara wine country, which is already a great start, and their tasteful decorations complemented the natural beauty wonderfully. The good looks of the wedding party and guests helped too! Highlights of the day included the horse and carriage ride from the Inn to the Estate, outdoor games, and a few Estonian wedding traditions… not to mention that I was seated with a lot of good friends of mine.

DSC_1406_stitchNow, I can’t say that everything went smoothly. This was my first event with the new (to me) D700 and as much as I thought a week of constant shooting beforehand would bring any problems with the camera to light, I was sure wrong. Right in the middle of shooting every overlay feature in the viewfinder turned on and stayed on! This included all the AF points and the DX crop, blocking out most of my view. Nothing I did could make it go away, and I tried everything. Fortunately, being the overly prepared worrier that I am, I had brought both my D300s and D7000 along and I managed to switch pretty seamlessly to the DX kit for much of the rest of the day. I still used the D700 in non-critical situations. I’ll post soon about the ongoing saga of the broken D700 and its recent resolution.

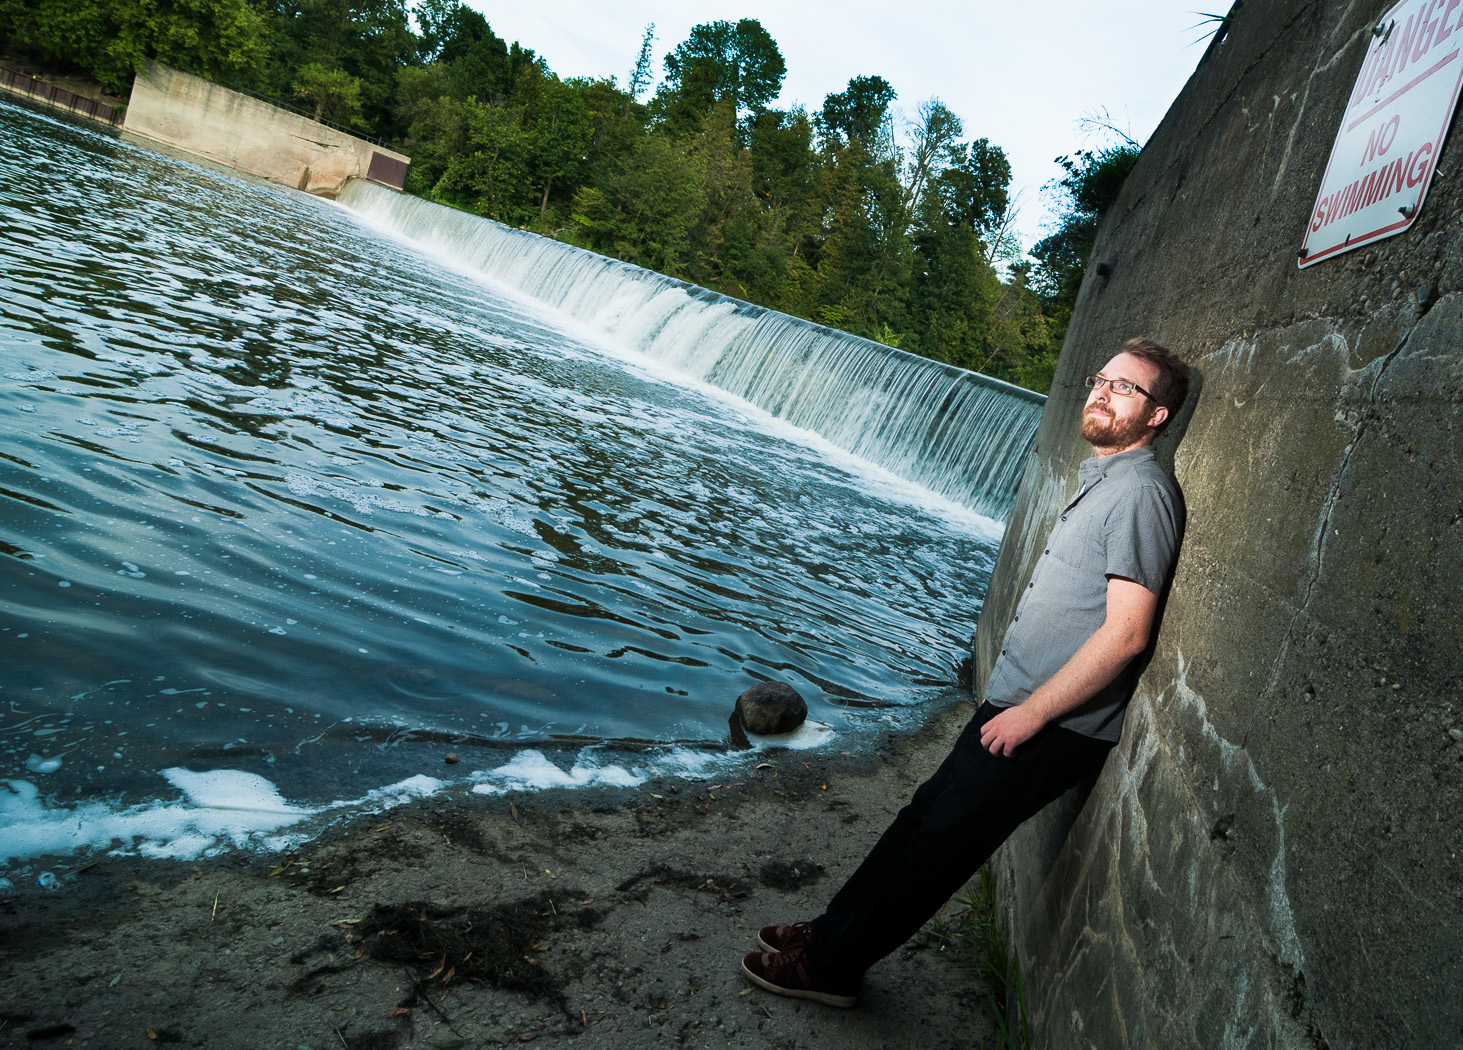
Back to the shots. Mike Portt did a great job second shooting, giving some excellent candids and details. Overall, a fun day full of photos that I’m proud of. Thanks, Nik and Erin!

DSC_1851 DSC_1785-Edit DSC_1911-Edit DSC_1926-Edit DSC_4453-2-Edit DSC_4582-2 DSC_1505 DSC_4733-2 DSC_4497-2-Edit DSC_4911-Edit DSC_4884-Edit DSC_4969 DSC_4975-Edit DSC_4996-Edit DSC_2053 DSC_2098 DSC_2023 DSC_2234 DSC_2163 DSC_2335 DSC_2230

Andrew and Erin’s Wedding – A Quick Bokeh Panorama in the Park

Last weekend I had the pleasure of photographing Andrew and Erin’s wedding in Waterloo Park and Victoria Park.  The day went off without a hitch, with perfect weather, great people and absolutely fantastic food.

Once I’ve edited my way through the massive number of photos I’ll write a full blog post, but for now I can say this. I have never been happier with the way my equipment performed at a wedding. The D300s + Sigma 50mm f/1.4 combination was an absolute dream when the girls were getting ready early in the day. The D7000 + AF-S 85mm f/1.8 worked flawlessly for portraits later on. Exposure and focus accuracy were at an all time high. Even the white balance was more accurate than normal. Together these are all adding up to a much more pleasurable editing experience than I’m used to.

To celebrate I had some fun playing around with a 50+ shot Brenizer method bokeh panorama of the bride and groom that I took in Waterloo Park with the D7000 and AF-S 85mm f/1.8G. First I’ll show the version that’s close to what I’ll give Andrew and Erin and then a more vintage-y black and white.

brenizer, stitch, waterloo park, bokeh panorama, wedding, nikon, d7000, af-s 85mm f/1.8G

A multi (50+) shot Brenizer method bokeh panorama with the D7000 and AF-S 85mm f/1.8G

brenizer, stitch, waterloo park, bokeh panorama, wedding, nikon, d7000, af-s 85mm f/1.8G

A multi (50+) shot Brenizer method bokeh panorama with the D7000 and AF-S 85mm f/1.8G

The Sigma 35mm f/1.4 Art

Finally! Ever since I gave up shooting with Pentax and switched to Nikon I’ve yearned for a lens like the FA 31mm f/1.8 LTD. That Pentax lens was staggeringly good and I hadn’t found anything to match it in the F-mount system… until now with the Sigma 35mm f/1.4.

I’ll start this post with a reminder that I shoot with DX bodies (at least for the time being) so the field of view (FOV) of this lens is more like 52.5mm, acting like standard prime. I’m not going to dwell on technical details in this review. Other sites do a far better job than I’m willing to do, with analyses down to the pixel level and direct comparisons to other lenses (here and here, for example).

Here is my current fast prime lineup, all cover FX lenses in case I ever decide to go that route. From left to right: Sigma 35mm f/1.4, Sigma 50mm f/1.4, Nikon AF-S 60mm f/2.8G Micro, Nikon AF-S 85mm f/1.8G. This is a great combination for FX, and pretty good for DX. A wider prime would still be needed but for now the 17-55mm f/2.8 fills that roll.

DSC_1250Being an f/1.4 lens, I’ve naturally focussed mostly on the wide aperture capabilities. I’m amazed at how sharp it is at wide open. Not only is it sharp but the contrast is quite high, making the in-focus subject pop. Stopping down does sharpen the image even further but really, I find the lens sharp enough at all apertures. It even shines on the D7000, a body I’ve found extremely sensitive to most lenses. Here are a few wide-open examples from the D300s (first two) and D7000 (the next four):

DSC_2807 DSC_2782DSC_1174 DSC_1181 DSC_1206 DSC_1225The effect of shooting at f/1.4 is dramatic, even on a DX sensor. I demonstrate this below with a couple sets of images with a range of aperture settings. The first set of images has minimal post-processing, while the second has one of my ‘fade’ presets applied (click on the images for larger versions).

DSC_2791-Edit DSC_2800-Edit

The bokeh is nice. It’s not the best but far, far from the worst. I have no complaints here.

I was, of course, expecting the Sigma 35 to be optically excellent but I am surprised at how accurately it focuses on both the D300s and D7000. The performance contrasts my other fast Sigma, the 50mm f/1.4 where I find the focus to be inconsistent, especially on the D7000. In single-point AF, I find that I am the weak link, not the lens-body pair.

Do I have any negative comments?

Well, it is heavy at only 100g lighter than the 17-55. That’s about it. I’m really looking forward to giving it a workout at my next wedding shoot. I’ll end this micro-review with some more photos.

DSC_1187 DSC_1234 DSC_1220 DSC_1238 DSC_1206 DSC_1237 DSC_2821-2

Blog Week Day 2 – The Many Faces of my Favourite Spot on Three Bridges Road

For the second post of my blog-a-day week I’ll share what I consider one of the loveliest spots near Waterloo, the crossing of the Conestogo River on Three Bridges Road. Located just west of St. Jacobs and a short drive from where I work, it’s a great spot to go during lunch or at the end of the day to grab a few shots.

In the summer, the river is shallow and slow-moving. In the late winter and early spring with a heavy melt, it’s a torrent and the low bridge is lost completely beneath the water. Regardless of the seasonal changes, I’m still amazed at how many different types of photos I can get at the same place. It just goes to show that you don’t have to travel far to get great shots (or pretty good shots, at least).

I used a wide range of equipment for these photos. The bodies (Nikon D300s, D7000 and N80, Bronica ETRS) were paired with lenses (Nikon 17-55 f/2.8, Nikon 35 f/1.8, Nikon 60 f/2.8G Micro, Nikon 85 f/1.8G, Tokina 11-16 f/2.8, Tokina 50-135 f/2.8, Sigma 50 f/1.4, Bronica MC 40 f/4, Bronica EII 75/2.8). On the self portraits I used Nikon SB-700 and SB-900 strobes with CLS control.

I’ll give a prize to the person who gets the most correct gear-to-photo matches!

img075 DSC_8725-Edit DSC_4102-Edit DSC_2765 DSC_4897 DSC_3356-Edit img148 DSC_4933 img041 DSC_0168-Edit img138 DSC_4771-Edit DSC_2308-Edit

Meet Easton Nathanael Persaud

Nat and Lauren, some of my best friends, have a new member of the family as of February 7. Easton Nathanael is an adorable baby boy and I feel so lucky to have met him when he was just 8 hours old. Lauren and Nat had Mitzy and me over on Saturday to take some photos of the new family of 4. I haven’t had a lot of experience with baby photography but I love shooting their kids. Their daughter, Harper, has become quite the photogenic toddler especially now that she’s warmed up to me. Here is one of my favourites (D7000 with AF-S 35mm f/1.8 @ f/2.8 1/200s ISO 400):DSC_9809-Edit-2To give a bit of editing history, here is the image when first imported into Lightroom.DSC_9809-2In Lightroom I did a few tweaks to prepare the shot for editing in Photoshop, namely

  • highlight reduction/shadow boost
  • reduced clarity/increased sharpness
  • vibrance reduction
  • lens correction
  • ‘Camera Portrait’ camera calibration

This is how the photo looked coming out of Lightroom:DSC_9809In Photoshop I removed some dry skin and red patches (under the nose and the lines on the shoulder). I used the color correction tool to shift some of the magenta tones in the skin towards the green and some local reduction of red saturation. I tried out a new Photoshop preset (a gift from a friend) to get the final look.

Enjoy!

The Tragically Hip at the Aud – More Photos

This post is a follow-up to last week’s about my impromptu shoot at a Tragically Hip show at the Kitchener Auditorium. I thought I’d show a bunch more photos but also give a few tips and tricks.

Let’s start with packing gear. Because I hadn’t ever shot at an indoor stadium show and had no idea what kind of vantage point I’d have, I brought nearly everything (11-16, 17-55, 50-135, 35, 50, 85 and both the D300s and D7000… oh, and some strobes and light modifiers too). I really didn’t know if I would even have the chance to change lenses during the shoot but I wanted to be safe. At the time I also didn’t know the extent of the shoot…. would I be covering just the show? or maybe shooting the band afterwords? would the writer need some details to support an interview? In the end, when I found that I would just be shooting the first three songs, I opted for a simple and versatile setup that would need no lens swapping. I put the AF-S 17-55 f/2.8 on the D300s and the Tokina 50-135 f/2.8 on the D7000 and left the rest in the car.

Concert photography presents a few technical challenges due to the extreme contrast and colour of light and fast-moving performers. In the concerts I’m used to shooting, there is barely enough light to shoot 1/60s with a wide open lens at ISO 1600; however during this show there was ample light. I chose to shoot at ISO 1600 with the lenses wide open or near-wide open but was able to get very fast shutter speeds like 1/250s. Freezing the subjects was a breeze.

When shooting a concert the hall is usually quite dark and the subjects quite bright. Imagine trying to properly expose a backlit penguin in the snow and then invert the light and dark. The camera will want to expose for the shadows and completely blow out the subjects. When shooting wide angle with the D300s I dealt with this extreme contrast by setting the exposure compensation to -1EV and crossing my fingers. For the most part it worked and I got a lot of keepers. With the D7000 and 50-135 I used the spot meter instead of the matrix meter. I actually have the function button programmed to quickly switch to spot meter while pressed. Occasionally I would combine the spot meter with the AE-L (exposure lock) when I needed to recompose.

In all I got 20-25 shots that I consider keepers (not bad for three songs). Here is a selection.Tragically Hip - Feb 5 2013-18Tragically Hip - Feb 5 2013-2 Tragically Hip - Feb 5 2013-17 Tragically Hip - Feb 5 2013-16 Tragically Hip - Feb 5 2013-14 Tragically Hip - Feb 5 2013-13 Tragically Hip - Feb 5 2013-11 Tragically Hip - Feb 5 2013-10 Tragically Hip - Feb 5 2013-9 Tragically Hip - Feb 5 2013-7 Tragically Hip - Feb 5 2013-6 Tragically Hip - Feb 5 2013-5 Tragically Hip - Feb 5 2013-4 Tragically Hip - Feb 5 2013-3 Tragically Hip - Feb 5 2013-20 Tragically Hip - Feb 5 2013-21 Tragically Hip - Feb 5 2013-22

Trying a New HDR Technique with 32-Bit TIFFs

Today I came across a new high dynamic range (HDR) technique that combines Photoshop’s HDR tool with a feature that was included in the Lightroom 4.1 update that I hadn’t noticed before: the ability to edit 32-bit TIFF images. As a first attempt I processed this image (from a walk on the Lake Erie shore at Fort Erie on Christmas Eve):

DSC_9164-Edit-2The process I used was:

  • I took a series of images (minimum three) with different exposures to capture the full dynamic range of the scene. Using a tripod is best although the HDR tool in Photoshop automatically aligns the images. For the images used to create the HDR above I shot handheld with autobracketing on the D7000 for -1, 0 and +1 EV exposure compensation.
  • In Lightroom 4.1 (or newer) I did some minor tweaking of the images to prepare them for the HDR tool. First I applied automatic distortion, vignette and chromatic aberration corrections for the 35mm f/1.8 DX. Next I changed the calibration profile from ‘Adobe Standard’ to ‘Camera Neutral’ in order to reduce the contrast. Finally I adjusted the exposure settings to ensure that the darkest image included the full range of tones in the highlights and the brightest image covered the full range of tones in the shadows. The images looked like this:

DSC_9164 DSC_9165 DSC_9166

  • I exported the three images to the HDR tool in Photoshop using the ‘Merge to HDR Pro in Photoshop’ command and saved the resulting combined image as a 32-bit image. Note that Lightroom cannot read 32-bit PSD files so it is best to configure Lightroom to export as a TIFF to Photoshop.
  • With the new 32-bit file back in Lightroom I could begin editing. At first glance, the image doesn’t seem to have any more information in it than before the HDR conversion but that is because all 32 bits of data can’t be displayed at once.  Instead, it is best to think of the file as a RAW with an enormous amount of information in the highlights and shadows. Pulling the Shadows slider all the way to +100 and the Highlights slider to -100 and a reduction of the Exposure slider to taste gives the following image. This is a good demonstration of the amount of data present, but not quite a final image. 32-bit Quick AdjustWith some further tweaking in Lightroom (exposure controls, curves, saturation/vibrance, sharpening) I got reached this point:

DSC_9164-ColourAt this point I wasn’t too happy with the banding in the sky… something I’ll have to figure out for future images. In the end I opted to convert to black and white for a darker feel.

DSC_9164-Black and WhiteAnd there it is, a simple HDR technique that doesn’t use any of the tone mapping features of common methods. I prefer this approach to those with tone mapping primarily because I have full control over the edit.