Blog Week Day 2 – The Many Faces of my Favourite Spot on Three Bridges Road

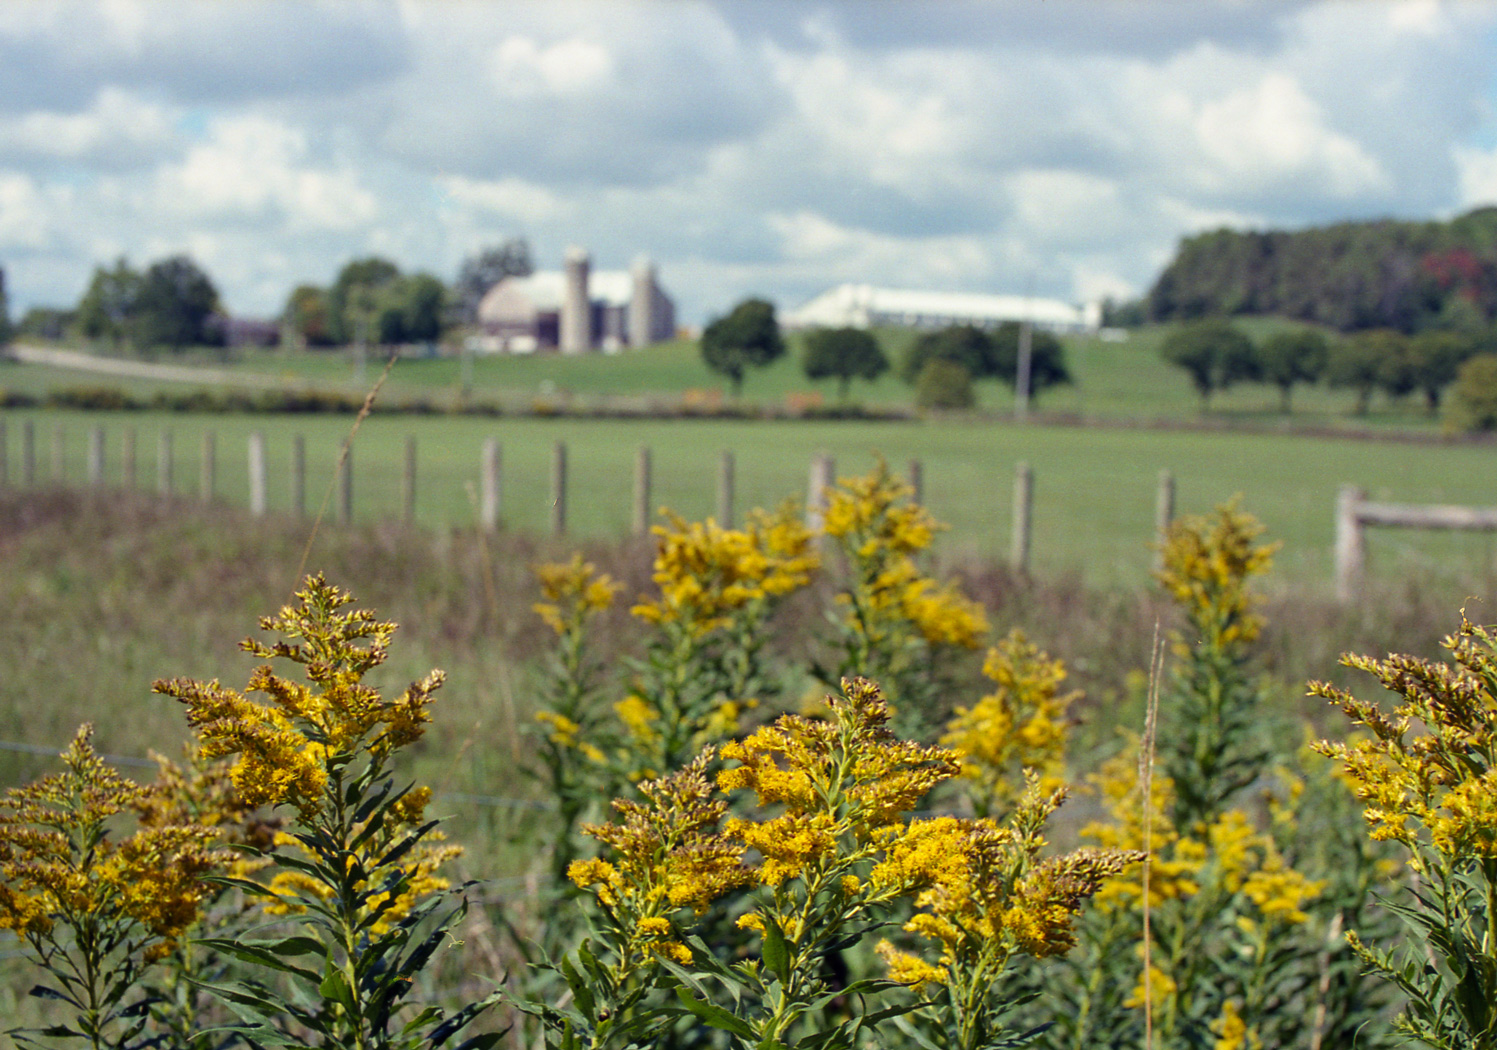
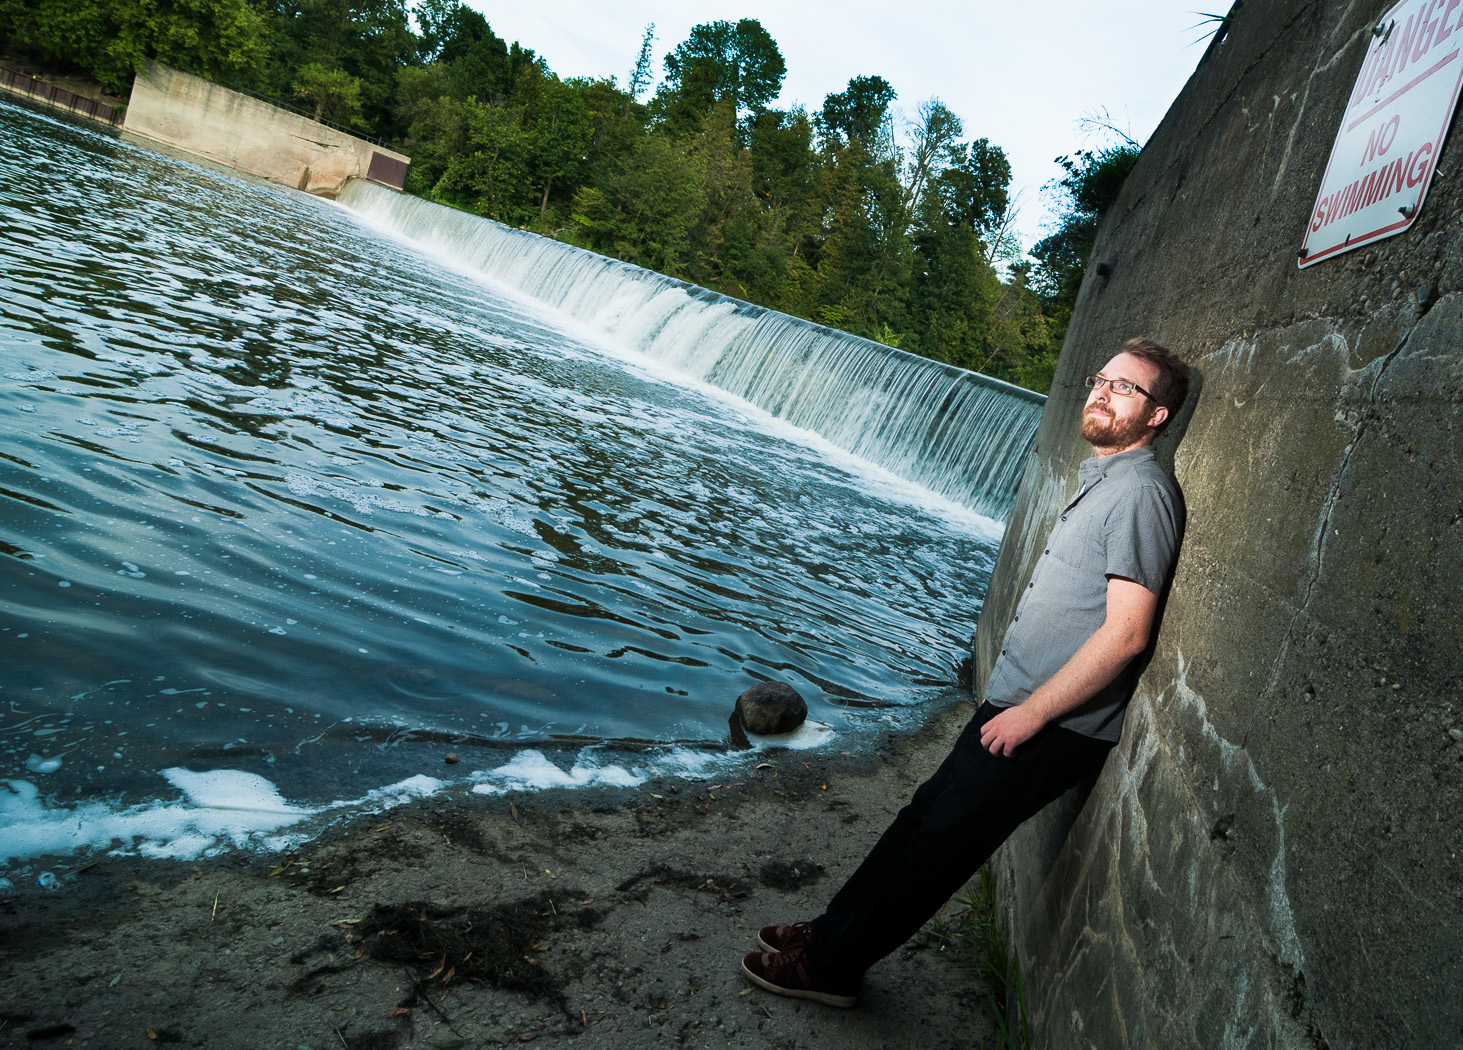
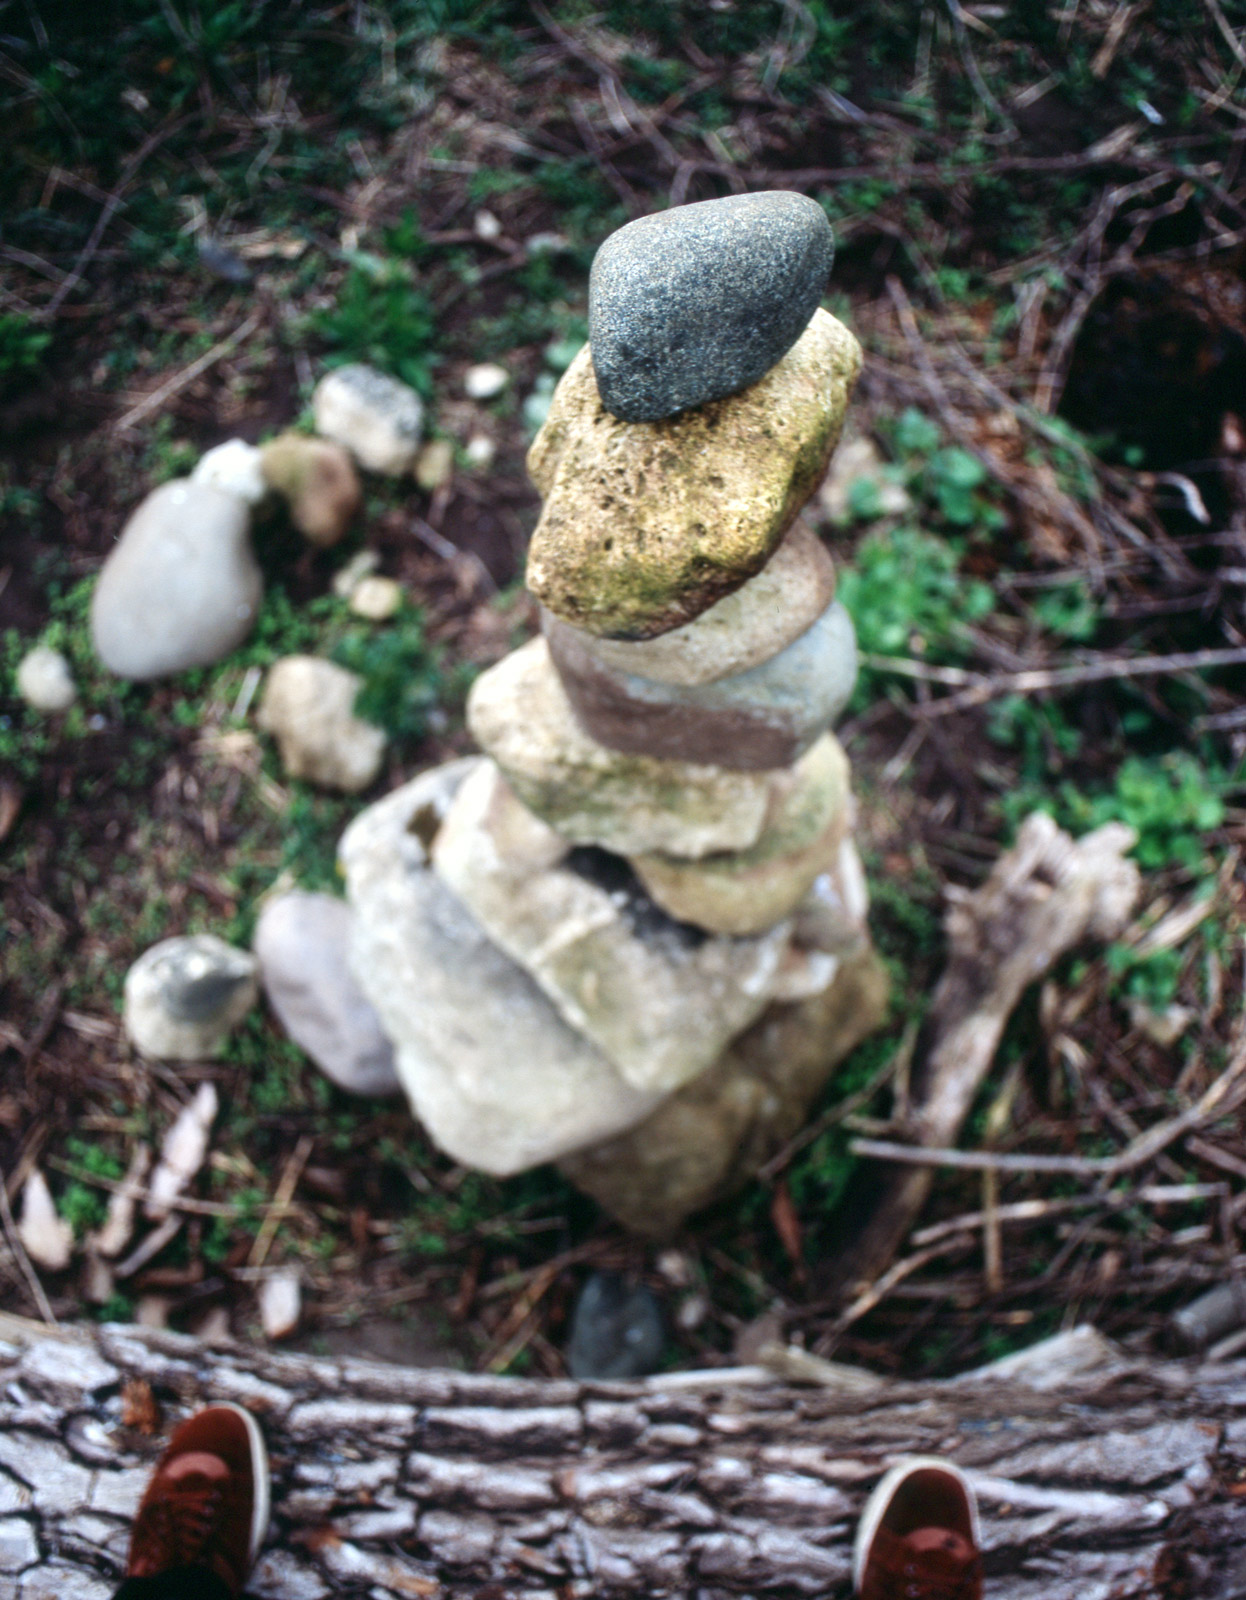
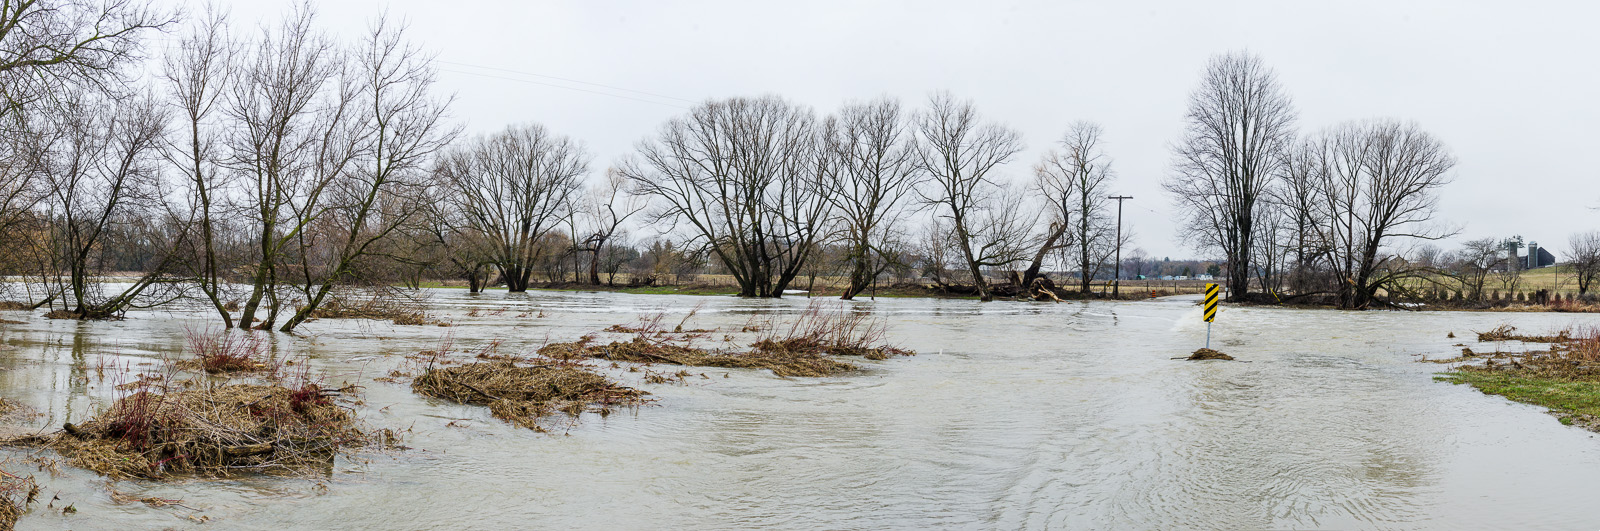
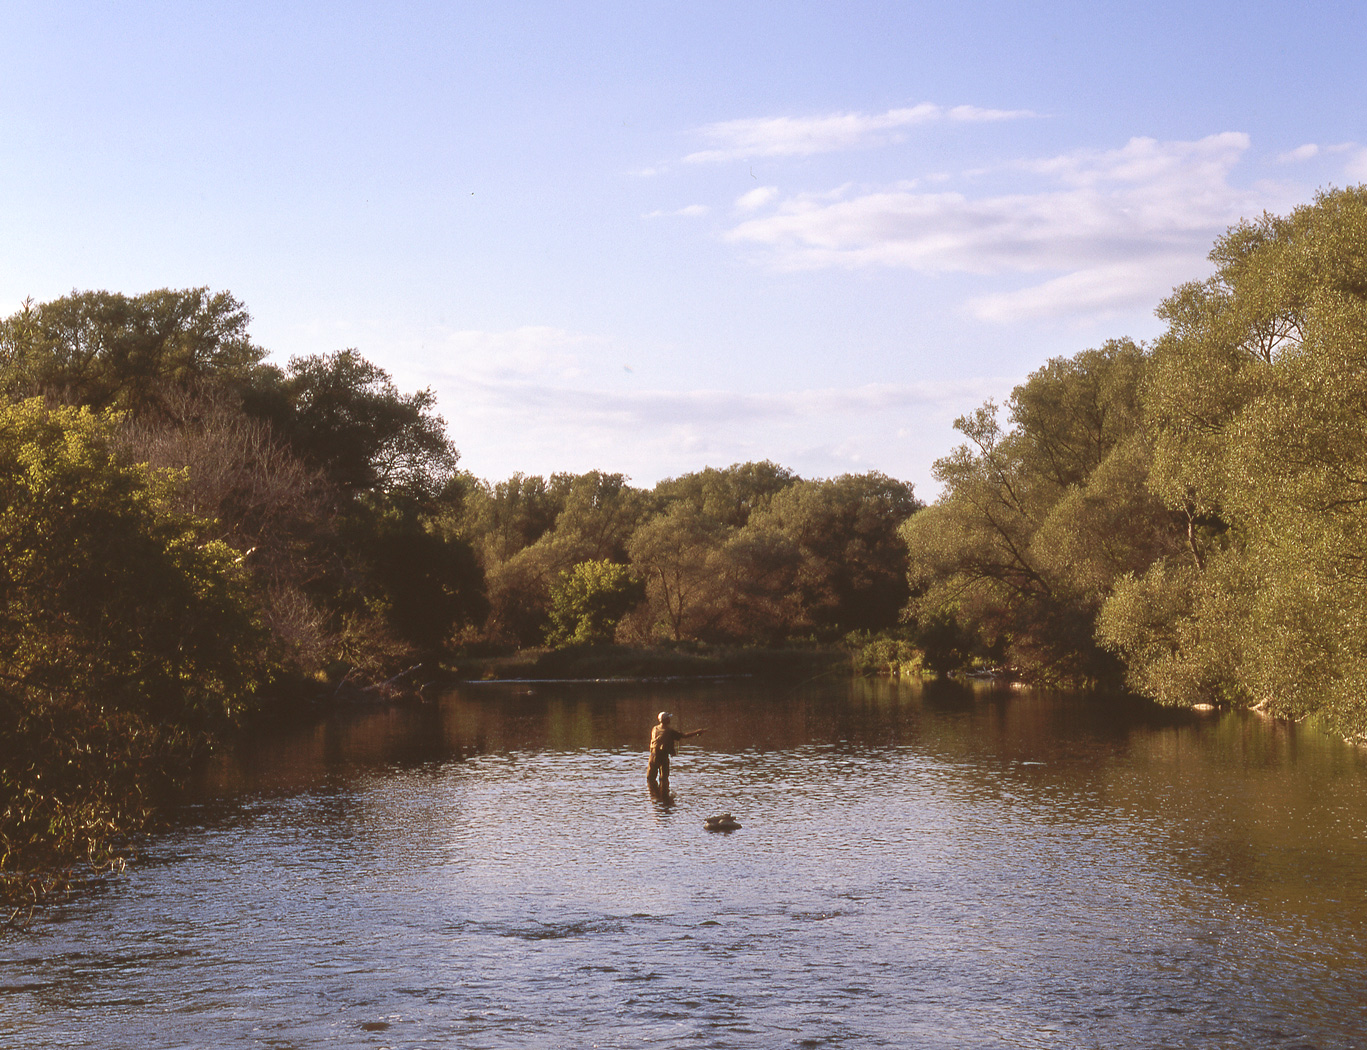
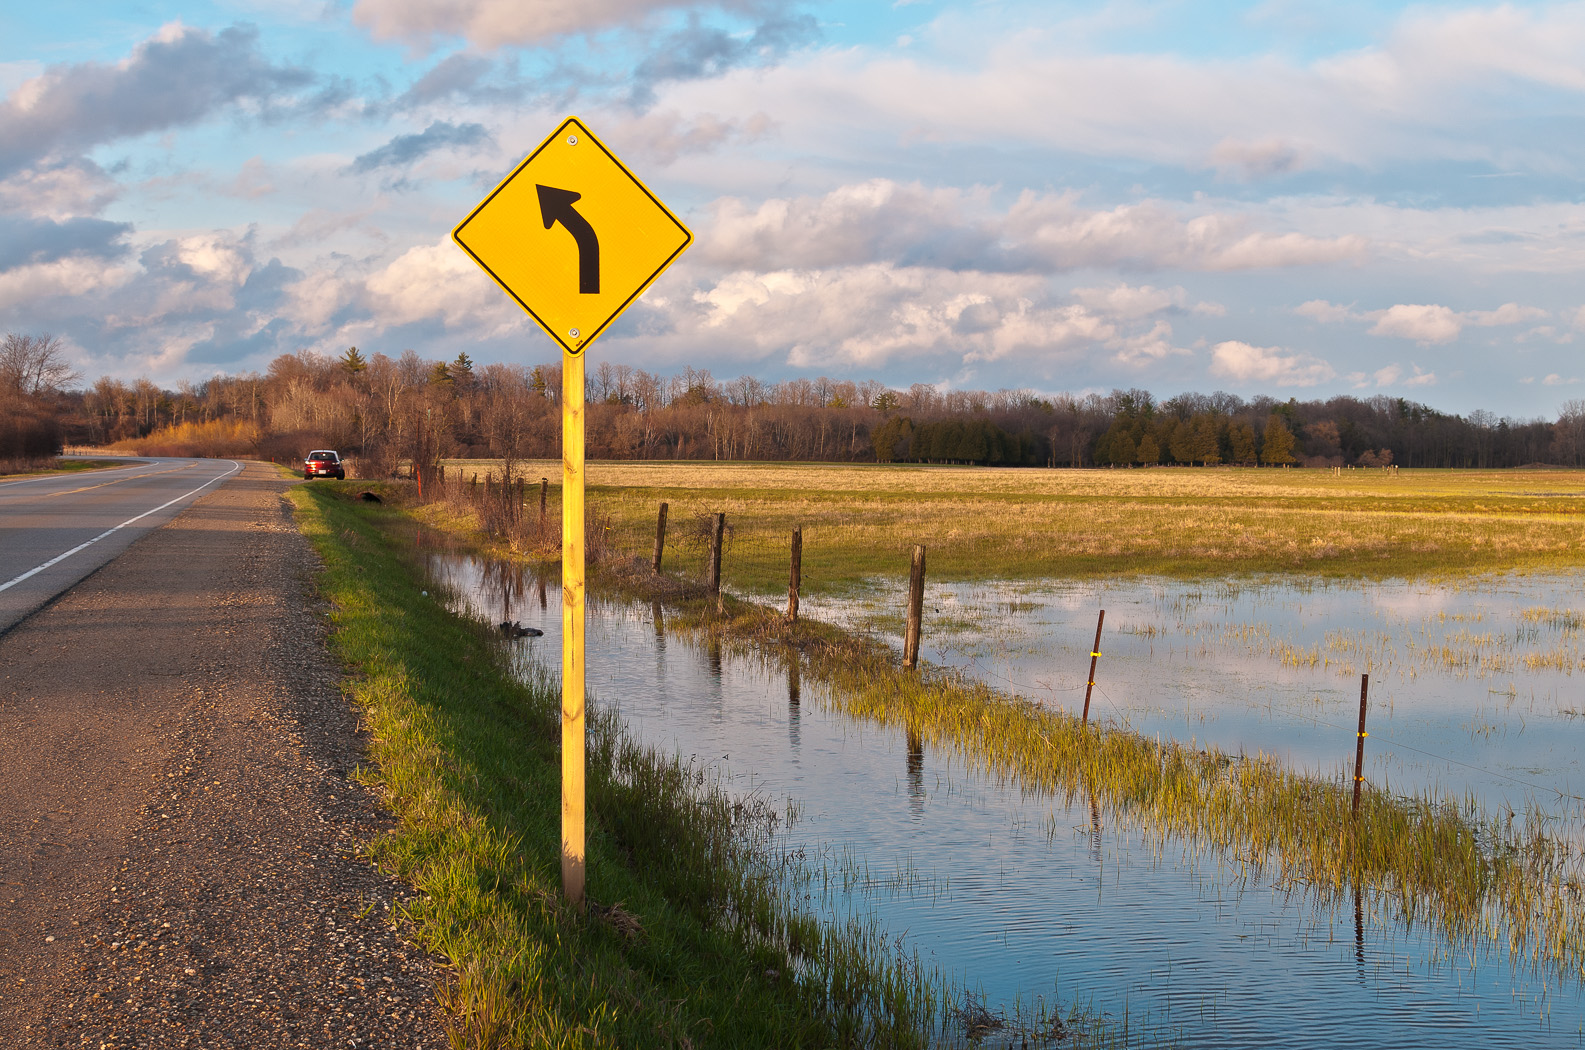
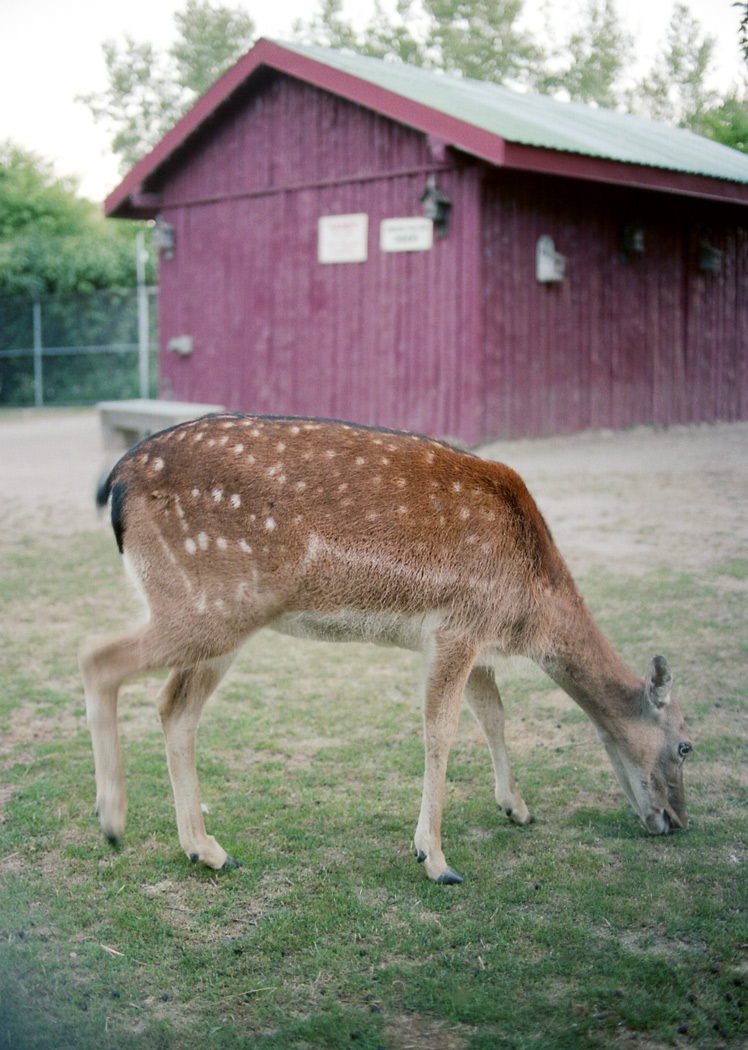
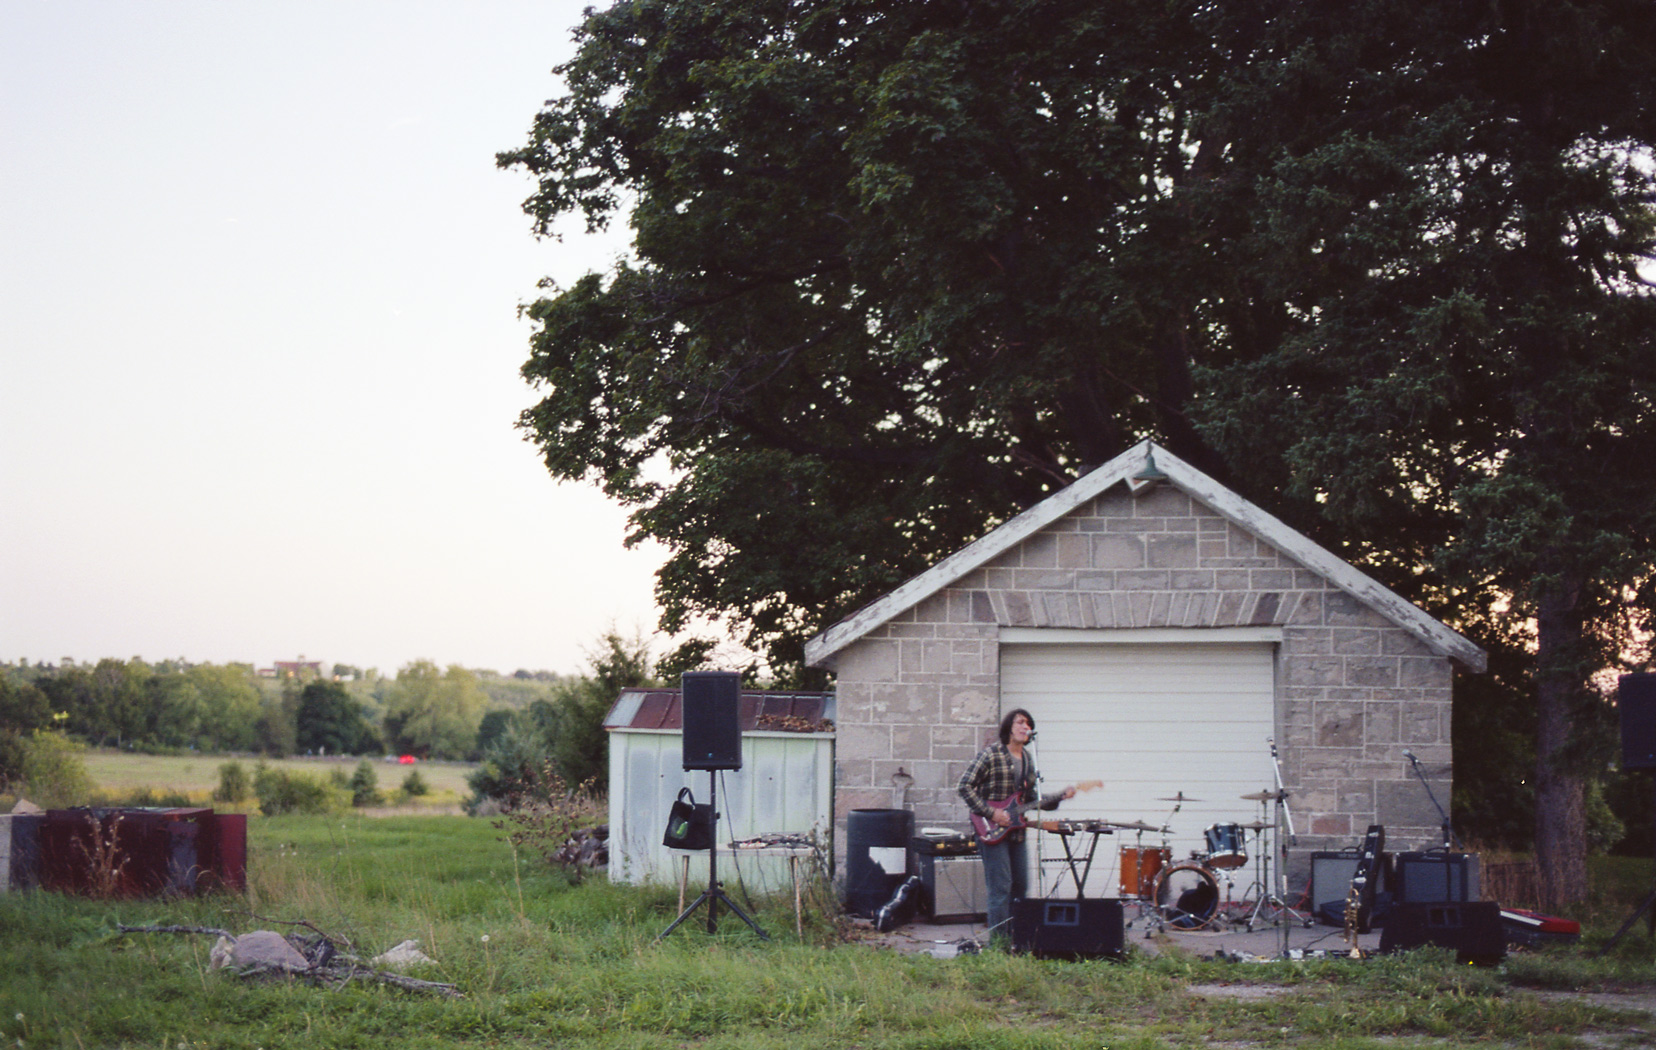
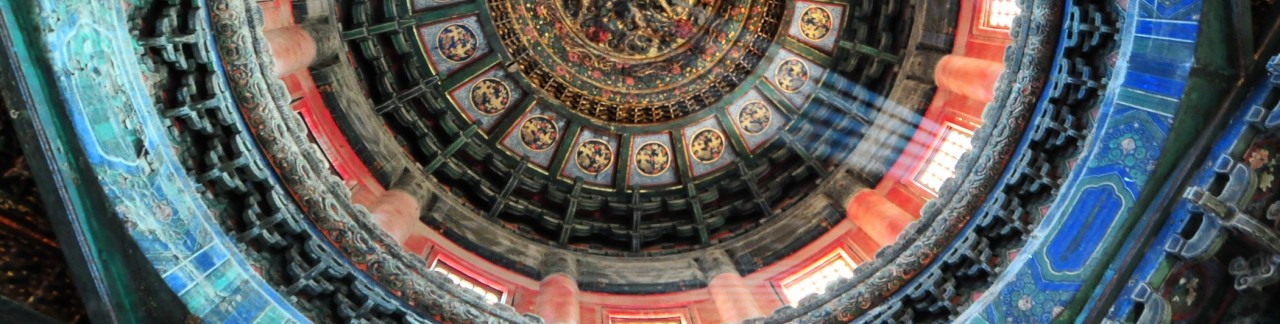
For the second post of my blog-a-day week I’ll share what I consider one of the loveliest spots near Waterloo, the crossing of the Conestogo River on Three Bridges Road. Located just west of St. Jacobs and a short drive from where I work, it’s a great spot to go during lunch or at the end of the day to grab a few shots.

In the summer, the river is shallow and slow-moving. In the late winter and early spring with a heavy melt, it’s a torrent and the low bridge is lost completely beneath the water. Regardless of the seasonal changes, I’m still amazed at how many different types of photos I can get at the same place. It just goes to show that you don’t have to travel far to get great shots (or pretty good shots, at least).

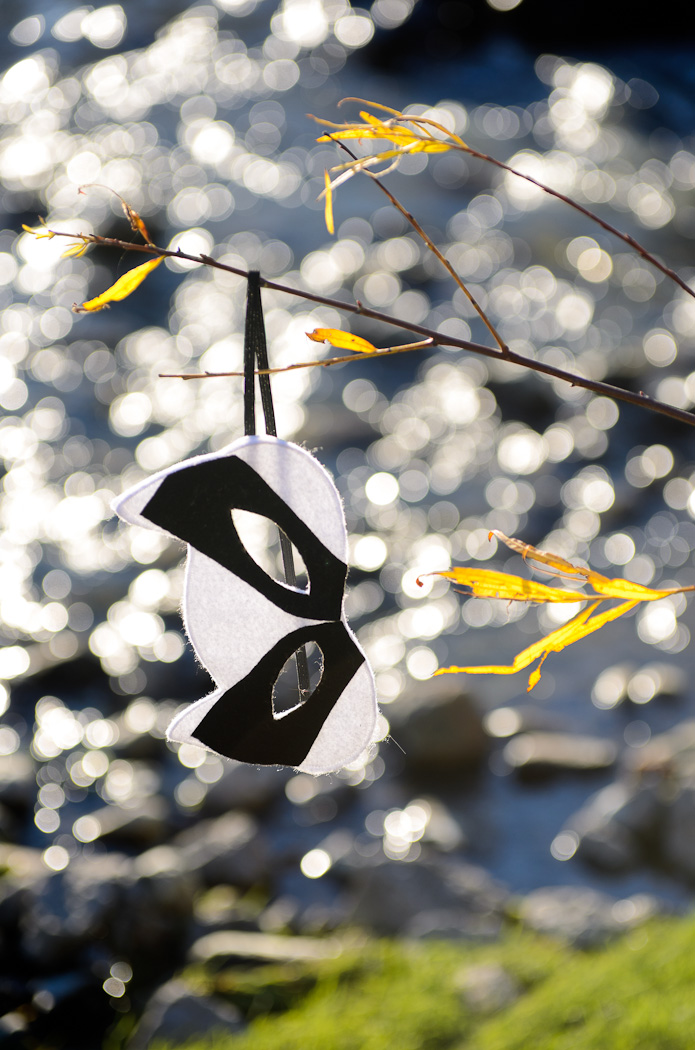
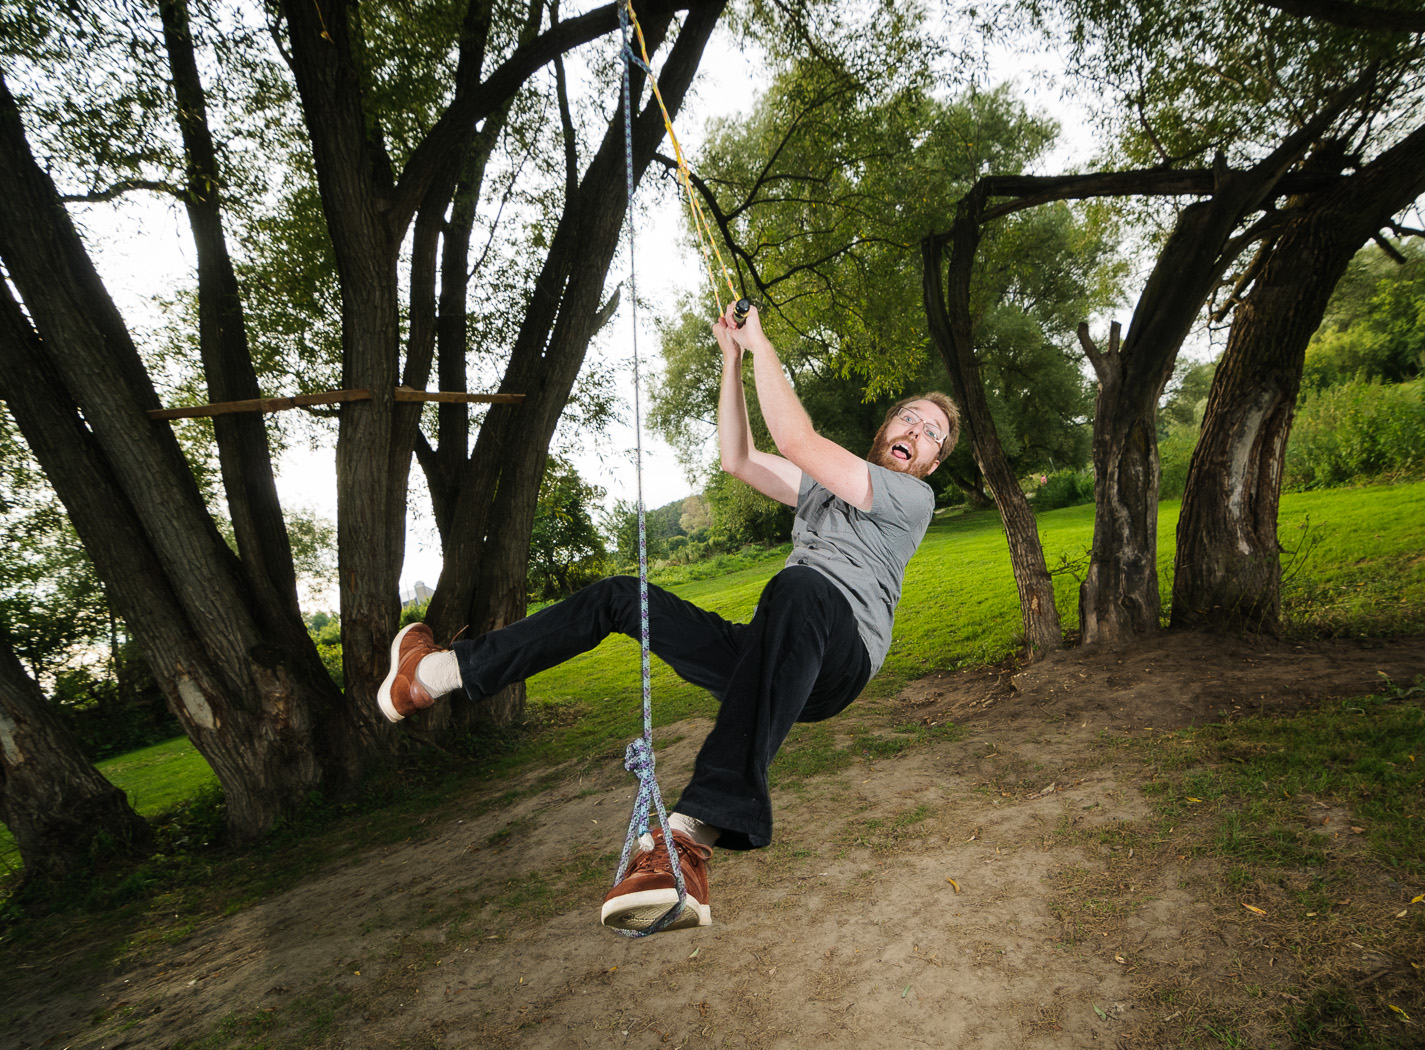
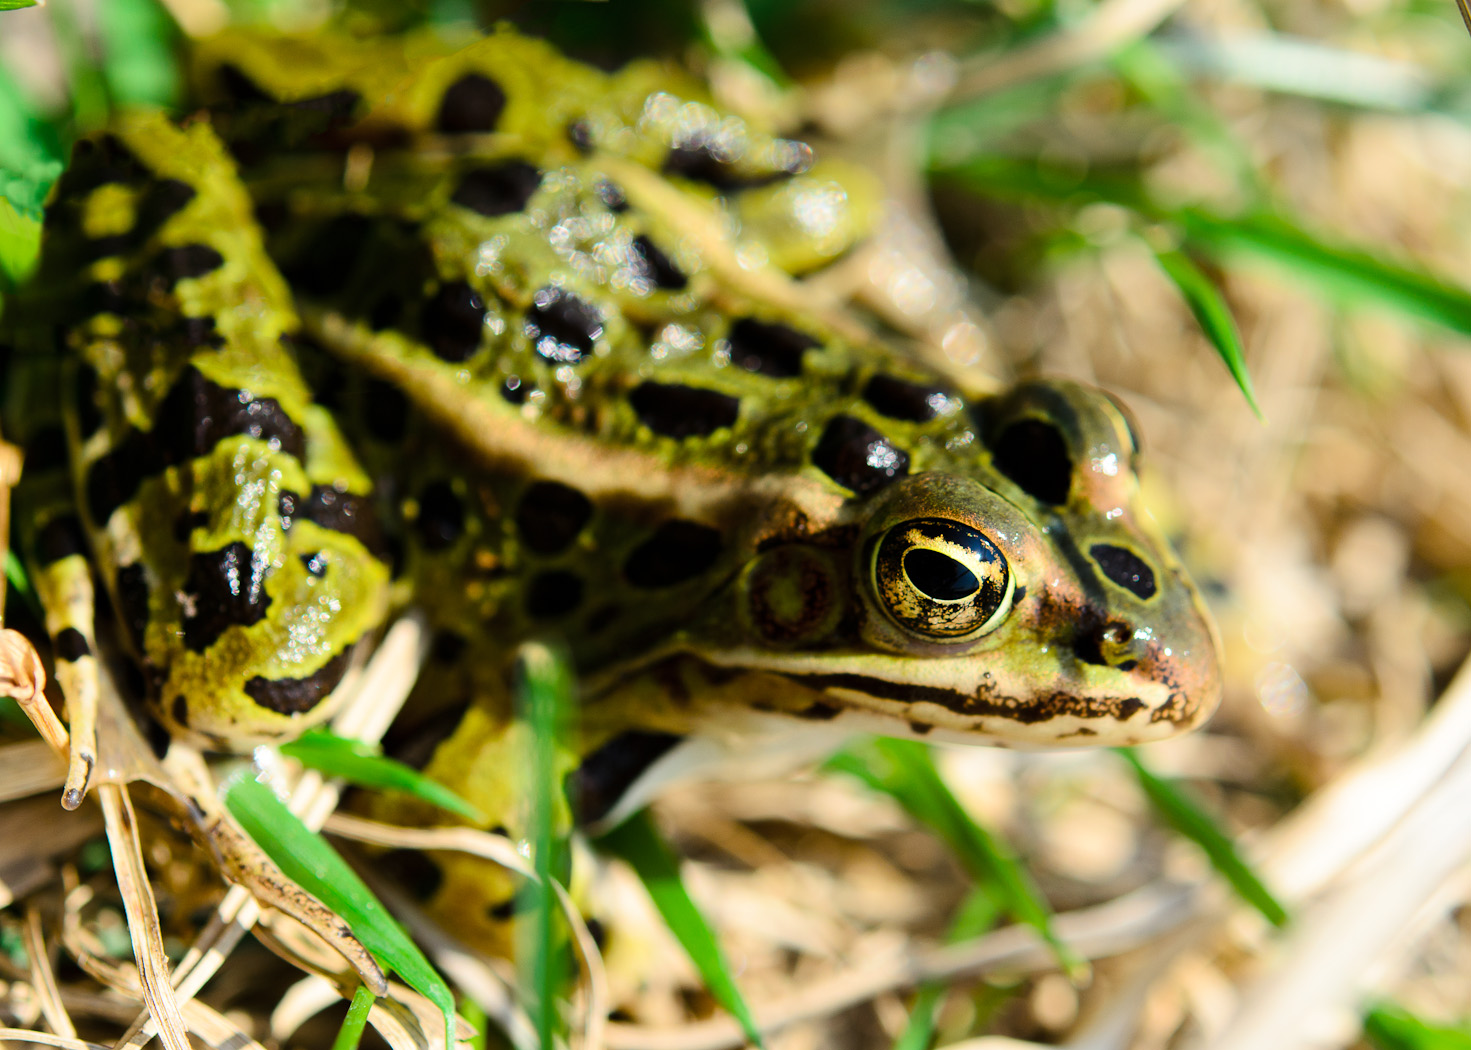
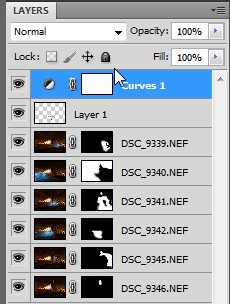
I used a wide range of equipment for these photos. The bodies (Nikon D300s, D7000 and N80, Bronica ETRS) were paired with lenses (Nikon 17-55 f/2.8, Nikon 35 f/1.8, Nikon 60 f/2.8G Micro, Nikon 85 f/1.8G, Tokina 11-16 f/2.8, Tokina 50-135 f/2.8, Sigma 50 f/1.4, Bronica MC 40 f/4, Bronica EII 75/2.8). On the self portraits I used Nikon SB-700 and SB-900 strobes with CLS control.

I’ll give a prize to the person who gets the most correct gear-to-photo matches!

img075 DSC_8725-Edit DSC_4102-Edit DSC_2765 DSC_4897 DSC_3356-Edit img148 DSC_4933 img041 DSC_0168-Edit img138 DSC_4771-Edit DSC_2308-Edit

Blog Week Day 1 – View from Rattlesnake Point

Tonight is the first night of my (possibly ill-fated) plan to post every night for a week. I’m starting the week off with an HDR composite from the top of Rattlesnake Point near Milton, ON. This shot is made up of 5 images, each separated by 1 EV of exposure. HDR processing was done in Photoshop CS5.

Since I tend to pack on the light side when walking I rarely have access to a tripod, something that is normally helpful for HDR photography. My trick is to set the camera to shoot at its highest frame rate (7fps on the D300s, or something around 3fps in 14-bit mode) and hold it as steady as possible. That way I minimize movement between frames.

Another trick I use is to program the lower function button to control exposure bracketing, as the D300s doesn’t have a dedicated bracket button. With the button pressed I can control the number of frames (2-9) with the rear dial and the exposure steps (0.3-1 EV) with the front.

Here’s the final shot with the D300s and Tokina 11-16mm f/2.8 at 11mm f/8 ISO 100.

DSC_0860-Edit

ObG Thursdays – I Spy a Spider

This week’s oldie-but-goodie comes from the front porch where last summer a spider took residence. I got creative with the lighting here, using a full three strobes. I controlled the strobes with Nikon’s CLS (Creative Lighting System) using the built-in flash as the controller.

The main light was a Nikon SB-900 with 1/4 CTO gel (the one that is supplied with the flash) and a Nikon SB-700 and Metz 48 AF-1 were both used as rim lights, un-gelled. I programmed the CLS settings in the camera as follows:

  • Overall exposure compensation was 0 EV
  • Main light was dialed down to -0.7 EV (on Group A) and had a 1/4 CTO gel
  • Rim lighting was increased to +0.7 EV (both on Group B)

Happily I also had a Mitzy to stand behind the web!

The photo was taken with the D300s with AF-S 60mm f/2.8 G Micro at f/8 1/100s ISO 400.

DSC_7857

And here’s a bonus close up.

DSC_7834-2

A Flooded Field – Two Golden Hour HDRs

Driving to Guelph last week I came across this flooded field with just the right clouds and just the right lighting. Each shot is a high dynamic range (HDR) composite of three images separated with a stop of exposure difference between each. Yes, that’s my Mazda 3 parked up ahead in the first image.

I should also mention that I was on my way to a formal dress-up cocktail party, so I was in a full suit and dress shoes. I’m sure the passing cars must have had a laugh…

D300s with AF-S 35mm f/1.8 DX at f/8 ISO 200.

DSC_0783-Edit-2 DSC_0786-Edit

New Batch of Developed Film – Part 4

In this fourth and final post from the recent batch of developed film I’ll show some scans from a roll of 35mm Kodak Portra 160. I shot these with the Nikon N80, an autofocus film body that can handle the most modern Nikon lenses with AF-S and VR. That means that the lenses I use on my digital bodies are compatible with the N80. Even more exciting is that, since I normally shoot with a DX (cropped) digital sensor, this is my only opportunity to use my FX prime lenses as they were intended. Photos from three lenses are shown in this post. The Sigma 50mm f/1.4 and Nikkor AF-S 85mm f/1.8G are both fantastic lenses on both DX and FX digital sensors and here on 35mm film. I also used the AF-S 35mm f/1.8G here and while it is a DX lens the image circle is about big enough to work on 35mm although the corners often vignette depending on aperture and focus distance.

The roll of Portra (as well as the others in the previous posts) was developed at Dwayne’s in the USA. I had them make prints of this roll and it is interesting to compare how my scans and digital editing compare to a standard print. Often they are quite similar in that we both agree on colour balance and brightness. I tend to prefer a bit more saturation and contrast than Portra provides so I enhanced both on many of the images using Photoshop.

img146 img147 img150 img148 img152 img153 img155 img154 img158 img156 img162 img161 img164 img163 img167 img165 img170 img168 img172 img173 img175

ObG Thursdays – Old Post Office Light Painting Composite

Lighting a large scene with just one flash is something I’d wanted to try for a while and finally got around to it with this shot in today’s Oldie-but-Goodie.

This photo is a composite of six shots, stitched together in Photoshop CS5. In each, I lit a different part of the building using a single SB-900 flash with the standard diffuser cap. I fired the flash using the test button and in most of the shots I fired it multiple times. The camera (Nikon D300s wtih Tokina 11-16mm) was set to manual exposure (f/8 8s ISO 100) and manual focus and set on a tripod in the parking lot. The long exposure allowed the camera to capture the ambient light but also gave me the time for the flash fires.

Here are the shots that went into the composite. In the first four I lit both the concrete and brick walls.

DSC_9339 DSC_9340 DSC_9341 DSC_9342 In the next two I tried to light the smoke stack by zooming the flash in to 200mm. The flash lost a lot of power at that distance and even with multiple fires it was difficult to light the stack.

DSC_9345 DSC_9346At this point the images look like a mess with many points of light and many Owens. However, by choosing which part of each image I wanted to come through using layer masks I could clean this up considerably. Below I show a capture from Photoshop with each of the images and their corresponding layer mask. Notice that for the most part only a small area (the white region of the layer mask) is used in the composite.

ScreenHunter_16 Apr. 11 07.19In the end I did have to remove a few stray flash bursts and Owen limbs here and there using the healing brush and clone tools. Finally, with a curves adjustment to brighten the lower mid-tones, I ended up with this!

DSC_9339-EditAs this was my first ‘light painted’ composite, I did learn a few lessons. Most importantly, it was difficult in a few instances to remove my ghost from the image. Next time around I would use brighter flashes and stand further away from the subject to not catch as much of the reflection. Distance would also help broaden the spot as it falls on the surface. Overall though, I was happy with this first attempt!

ObG Thursdays – Lincoln Memorial

This week’s Oldie-but-Goodie comes from a trip Mitzy and I took to Washington DC last summer. On a blazing hot day, we took refuge in the Lincoln Memorial where I took this photo with the D300s and Tokina 11-16mm f/2.8.

Lincoln MemorialI used a few photographic tricks to make this image. First was my choice of perspective. I used the Tokina 11-16mm at 11mm to capture the vast interior. The room was also full of people but Mitzy pointed out this excellent vantage point that was completely tourist free! Compare above to the image below. It’s hard to believe that they were taken just a few minutes apart:

DSC_3716To capture the full tonal range of the space I used an HDR technique. I took five images, each separated by 1EV and combined the -2, 0 and +2EV into an HDR image in Photoshop’s HDR Pro tool. Here are the three images that fully encompass the darkest and brightest tones.

DSC_3728 DSC_3730 DSC_3732

The combined image looked like this:

DSC_3728-Edit-2Once the HDR was created I tweaked the brightness/contrast and fixed the vertical perspective in Lightroom.

ScreenHunter_16 Mar. 20 21.09And that’s it! A unique perspective of a familiar landmark, captured with full tonal range.

OBG Thursdays – The Flash (with 4 Flashes)

Today’s Oldie-but-Goodie is a fun little ‘portrait’ of an action figure. After reading about some cool lighting setups for defining muscle I wanted to try it out on a real live muscular person. Unfortunately, I am not this person…

7313886510_b9be4a5d09_oThe Flash (fittingly) would have to stand in for me. This shot is actually one of the more complicated lighting setups that I’ve done. It uses four flashes in total and each of them is modified. The principle of the lighting is to use a softbox in a ‘tabletop’ position, meaning that it sits directly above the subject pointing straight down. The direction of light causes the muscles to cast strong shadows, adding definition. With just this one light, the shadows are quite strong. Rim lighting or fill lighting can lift the shadows.

For this shot I used the lighting diagram below:

lighting-diagram-1363206547A Lumiquest Softbox LTZ on SB-900 sits directly above the subject (even though in the diagram it’s placed slightly in front) and points down. For rim lighting I use two more strobes. On the right is a SB-700 with a grid spot. On the left is a Metz 48 AF-1 with a grid spot.

For the backround I used a fourth light, an Alienbees B800 with 22″ beauty dish with a diffuser sock placed over it. I’ve had a lot of fun placing this light modifier directly into photos as a creative element in the past.

The SB-900 used for tabletop lighting has a Full CTO gel on it. The Metz 48 AF-1 on the left is gelled with a light blue. In hindsight, the blue was probably unnecessary as it doesn’t look much different from the non-gelled flash (see the highlights on his waist at left and right).

The final shot was with the D300s and AF-S 60mm f/2.8 G Micro at f/13 1/125s ISO 100. The B800 with beauty dish was set to minimum power and is still quite bright at f/13 ISO 100. The tabletop light is at 1/2 power and the two rims are 1/16 power.

Blending with Soft Light – A Quick and Simple Way to Increase Contrast and Saturation in Photoshop

DSC_0292-Edit-2Today I’d like to show you a really effective, but simple, way to boost contrast and saturation in an image by walking through how I arrived at the above image. The trick is using a layer blending mode called ‘Soft Light’. Photoshop has the ability to blend different layers with each other using a number of methods. The Soft Light mode works like this:

  • Areas that are brighter than 50% grey get ‘screened’, meaning they become lighter depending on the lightness of the lower layer.
  • Areas that are darker than 50% grey get ‘multiplied’, meaning they become darker depending on the darkness of the lower layer.

I’ll demonstrate. Here is a layer in Photoshop that is a simple gradient going from white to black, left to right. In the middle is 50% grey.ScreenHunter_16 Mar. 12 20.32If I add an adjustment layer on top of this, say ‘Levels’, and change its blending mode to Soft Light the lights get lighter and the darks get darker depending on how light or dark they are. In the middle, 50% grey, is unaffected. In the image below, the top half has been blended with Soft Light. The bottom half is the same as the previous image. Notice that the gradient becomes more steep… the transition between white and black is shorter. This is an increase in contrast.ScreenHunter_16 Mar. 12 20.35In an image with colour, Soft Light blending can also increase saturation. I’ll demonstrate with an image. First, I’ll show the image as it is first pulled out of Lightroom into Photoshop.ScreenHunter_13 Mar. 12 19.57If I add a Levels layer and blend it with Soft Light the contrast and saturation increase dramatically.ScreenHunter_15 Mar. 12 19.57I can scale the effect back by lowering the opacity. Here I’ve set it to 47%:ScreenHunter_15 Mar. 12 19.58I’m finding that there’s still too much of an effect on Mitzy so I’ll paint some grey into the layer mask over her. Grey will decrease the opacity of the mask by another 50% where I’ve painted it in.ScreenHunter_16 Mar. 12 20.00I’m happy with how the Soft Light blending has improved the image so let’s finish it off. First, I’ll remove some of the messy details in the bottom right corner using the Spot Heal Brush in a new layer.ScreenHunter_16 Mar. 12 20.04Next I’ll brighten Mitzy a bit further using a curves tool, masked so it only affects her.ScreenHunter_16 Mar. 12 20.05Here, I’ve decided that I want to bring a bit more of the contrast back in to the background so I increase the opacity of the Soft Light layer.ScreenHunter_16 Mar. 12 20.06Finally, I add a bit more contrast into the right side of the image with a masked Curves tool. The image is done!ScreenHunter_16 Mar. 12 20.08So there have it. Soft Light blending. Quick and simple!